Custom hoodies for a clothing brand or merchandise range start with a clear product brief. The decisions in this guide take buyers from the first fabric and fit choices through decoration, sampling, a wash trial, bulk quotation and receiving. Use the tables to compare pullover and zip-up designs and to keep a record of the approvals that affect production.
Write the brief around the customer and sales channel
Custom hoodies can serve a fashion collection, a campus store or a branded merchandise program. Those uses call for different choices about fit, fabric and decoration. Start with the person who will wear the garment, the layer they will wear underneath and the retail presentation you want. Then specify what the supplier should develop and what you can approve from existing materials.
Write the purpose in one sentence that a patternmaker and a buyer can both use. For example, “An everyday pullover for an adult streetwear collection, worn over a T-shirt, with a relaxed shoulder and a chest graphic that stays visible when the wearer has a bag strap over one shoulder.” That sentence describes what the sample must do and helps the team understand why a narrower body or relocated graphic might be rejected.
List your launch variants separately from possible later additions. A first sample does not need to represent every color, but it needs to represent each design decision the buyer must approve. When a range includes a pullover and a zip-up, identify which materials and colors can be shared and which construction checks apply to each style. Use separate style codes so stock, purchase orders and sample feedback point to the correct garment.
Identify the commercial owner and the technical approver. A merchandiser may approve the look, a fit technician may own measurements and a production team may decide whether a construction change affects delivery. Give the supplier one consolidated feedback sheet per sample round. Conflicting requests from several teams can produce a second sample that answers none of them. The M&A Sourcing hoodie product category gives buyers a starting point for discussing bulk development.
Choose pullover or zip-up construction
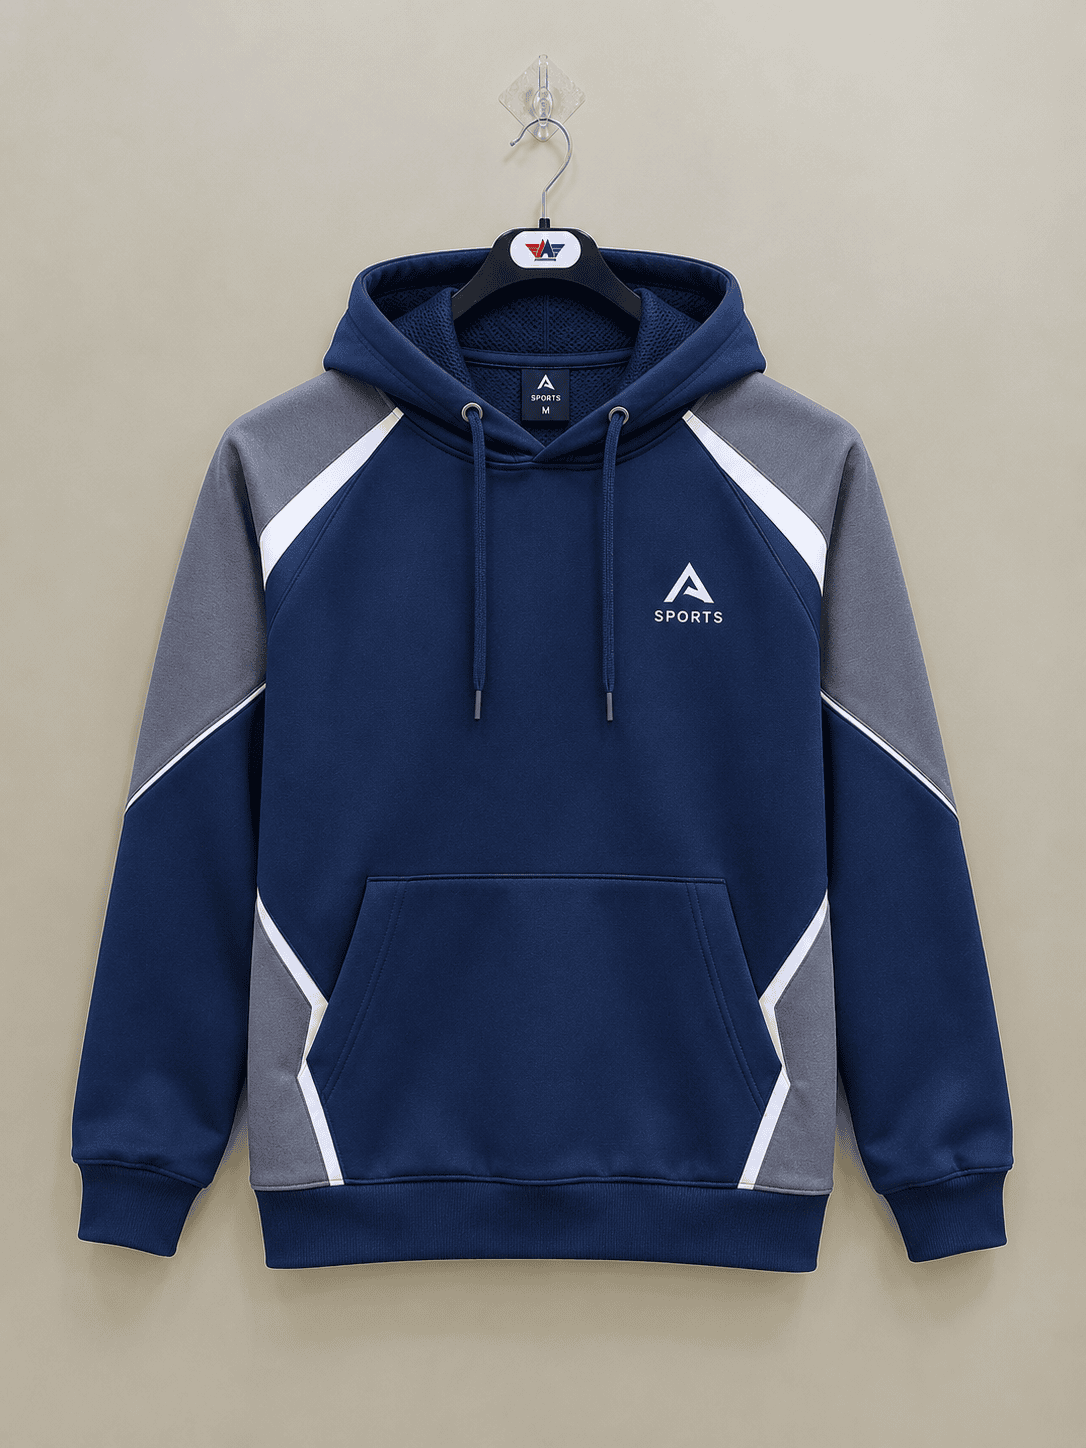
A pullover provides a continuous front area for artwork, and a kangaroo pocket can give both hands access from the sides. Ask wearers to pull the sample on over the planned layers. Check whether the neck opening is comfortable and recovers after dressing. Look at the pocket opening while the sample is worn because it can tilt as the fabric drapes. If the graphic sits near the pocket, define the gap using the finished seam as a reference.
A zip-up can be convenient for people who put on and remove layers throughout the day. Check the front zipper when the hoodie hangs open as well as when it is closed. Confirm the slider and pull are comfortable to handle, the zipper moves freely and both sides align at the waistband and neckline. If there is artwork near the zipper, specify whether the two sides should match across the center line. A divided graphic is harder to align than a mark on one side.
Compare both constructions on the same wearer and in the same layers. A zip-up often gets tried open while a pullover gets judged closed. Photograph each in its expected use and include a consistent front view for comparison. Have someone reach overhead, cross their arms and sit down. Check whether the hem rises, sleeves pull and pockets remain comfortable. If the hood is meant to sit under or over another layer, test with that layer.
A single range can use both designs if each has a clear reason to exist. Share material references where appropriate, but use a separate tech pack for each style. A rib cuff or hood fabric may be common while the center front, pocket and lining construction differ. Put the shared components on a cross-reference sheet with the approved version for each style.
| Design point | Pullover | Zip-up | Sample check |
|---|---|---|---|
| Front construction | Continuous panel | Center opening | Check neckline comfort or zipper alignment. |
| Artwork | Continuous chest print area | Single-side placement or divided art | Measure from the same garment reference. |
| Often one kangaroo pocket | Often two separate pockets | Try access and check opening reinforcement. | |
| Layering | Pulled over the head | Can be worn open | Trial over intended layers and check hem position. |
| Quotation | Confirm neck and pocket construction | Include zipper, tape and pull specification | Confirm the same fabric and trim assumptions. |
Specify fleece or French terry and approve the actual fabric
Start by asking for swatches labeled with the intended fiber composition, fabric weight and finish. In common apparel usage, French terry has visible loops on its inner face, while brushed fleece has a raised inner surface. Confirm the actual construction and finish of each proposed material. The name alone leaves open the weight, drape, stretch and surface characteristics that determine how the finished hoodie feels.
Review fabric weight alongside drape, recovery and the desired silhouette. A heavier material may help support a structured body or hood, but the seam bulk can affect a folded waistband or neckline. A lighter construction may layer comfortably, but the pocket opening or graphic can distort if the fabric and pattern are poorly matched. Compare full garments because seams, rib, pocket layers and a lined hood change how the body hangs.
Specify how the fabric weight will be checked and at what stage. For a usable quote, state the target and have the supplier confirm the offered material and tolerance. Ask whether the quoted fabric is stocked, made for the order or tied to an individual color run. A fabric code is useful for reorders only if the buyer also records the color, composition, finish and matching rib or lining. Keep a labeled cutting from the approved material alongside the finished sample.
Color approval should cover the whole garment. Compare the body, rib, hood lining, thread, zipper tape and drawcord together if they are intended to match. Different materials can look similar in one light and distinct in another. Review the combination under the conditions your team uses for approval, record accepted differences and keep the final set together so a later replacement does not get approved against a single swatch. For background on fabric selection, see the M&A Sourcing fabric guide.
Set the fit, size range and measurement rules
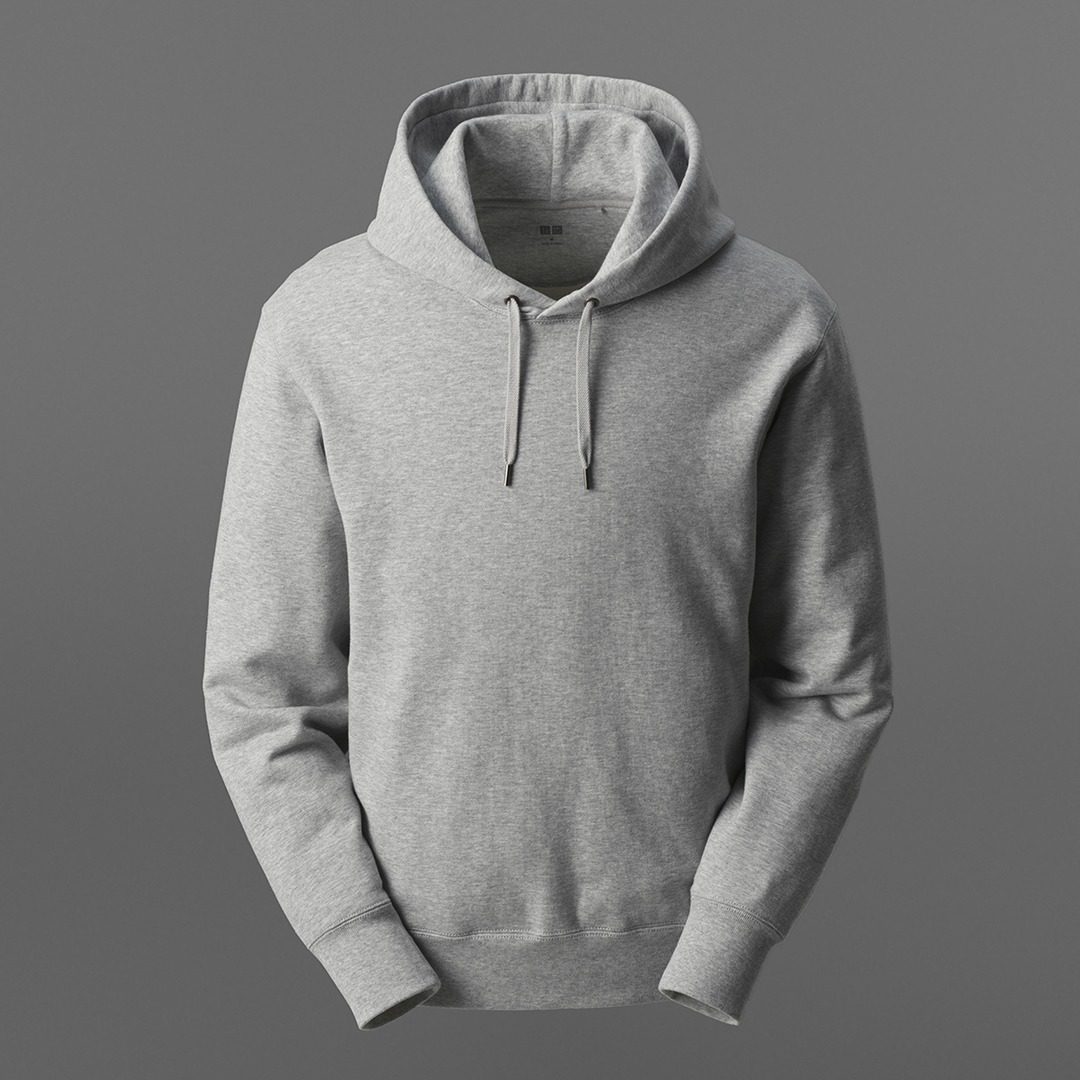
A fit label is a starting point. An oversized hoodie may have extra body width, a dropped shoulder and a different body length from a regular style. A relaxed fit may add room without dropping the shoulder as far. Define the dimensions and look that matter to your line. Use a drawing, a fit reference or both to show where the garment should sit on the wearer. Give the supplier the measurements you want to preserve and explain what you intend to change.
Build the measurement sheet with named points, measuring instructions and allowed tolerances. Buyers commonly record body length, chest width, shoulder width, sleeve length, sleeve opening, hem width and hood dimensions. Clarify whether chest is a flat width or a full circumference. For a dropped shoulder or a raglan style, define exactly where sleeve length starts. For rib openings, say whether the sample is measured relaxed and how it is laid flat.
Fit the base size before reviewing the grade. Have the model wear the planned layer underneath and complete a short set of movements. Record how much the body moves when they raise their arms and whether the cuff stays where intended. If a wearer notices pulling, observe the area while the movement happens. Changing sleeve width alone may not resolve tension if the issue sits in the shoulder or armhole.
After approving the base size, check sizes near the ends of the range. A hood, pocket or logo does not always need to scale at the same rate as the chest or body length. Review the appearance on smaller and larger sizes so the hood, pocket opening and artwork remain proportionate and usable. If multiple decoration sizes are needed, assign them to specific sizes in the artwork placement chart. The tech pack checklist shows how to keep drawings, measurements and revision records together.
Compare print and embroidery for custom hoodies
Prepare artwork at the intended size and give each file a revision number. List approved colors, placement and dimensions. Identify a reference point the factory can measure on the finished garment, such as the center front line or the shoulder seam. If one placement changes between sizes, add a size-specific instruction. A mockup communicates intent, while the placement chart gives the factory a measurement it can repeat.
Screen print, embroidery and transfers have different effects on the garment. Compare each proposed method on the intended fabric and color. Review the sharpness of small letters, coverage of large areas, appearance at edges and the hand feel of the decorated panel. Turn the sample inside out and check whether backing, seams or a large decorated area are noticeable when the hoodie is worn. A method that works for a small chest mark may be a poor fit for a broad back graphic.
Check the art in motion. A chest mark can be interrupted by a bag strap or a fold near the armhole. A back print can be partly covered by the hood when it is down. A waist-level mark may disappear when the wearer sits. Photograph the garment from the distances and angles a customer would normally see. Give the supplier a marked-up photo if a change is necessary, and confirm the new measured placement in writing.
Add the decoration to the wash trial. Compare the appearance, surface and feel with the signed reference. If the design uses multiple fabric shades, review how the decoration reads on each one before approving the range. Ask whether artwork setup is priced by design, placement or color variant. The embroidery and printing comparison covers more questions for buyers evaluating branding methods.
Review the hood, rib, pockets and zipper
The hood deserves its own fit check. Try it up and down and observe where the opening sits relative to the face. Have wearers turn their head and look down while wearing the sample. A hood that looks generous while the garment is flat can pull at the neckline or fall forward when the wearer moves. Specify the number of panels, lining and any visible topstitching. Use a drawing to show the hood opening and the attachment seam.
Review cuff and hem rib after wear and laundering. Check the relaxed dimensions and see how quickly the rib returns after normal use. Inspect the join between the rib and the body for puckering or twist. If the waistband is designed to draw the body inward, compare how the amount of gathering looks across sizes. The sample approval should include the intended matching rib and seam construction.
Try pocket access on a person wearing the hoodie. Some buyers want a kangaroo pocket that can comfortably hold both hands, while others prefer an opening that sits closer to the body. Check the height, width and angle of the opening as well as the pocket depth. Ask the supplier how the openings will be reinforced, then inspect the finished sample for stress or distortion after repeated use. Confirm whether the pocket is expected to carry objects or mainly provide hand warmth.
Document zipper and drawcord requirements separately. Check zipper length, pull, tape color and appearance when closed. Agree whether the drawcord is part of the design and record the approved tip and opening details. For children’s garments or any order with customer or market-specific requirements, obtain the applicable specification before approving trim design. Keep the version of that requirement with the technical file.

Set approval gates for fit, decoration and bulk production
Begin with a prototype that answers the construction questions. Note which materials are substitutes and which decisions can be made with them. For example, a prototype can help the team decide pocket position, but an approval for fabric hand feel should use the material intended for production. Give every sample a revision and label photos with the same reference so the latest decision is easy to locate.
Use the next round to check the issues that affect the customer’s experience. Try on the intended layer, measure the agreed points and run the planned laundry trial. Document the wash and dry conditions and compare the same measurements before and after. Examine surface appearance, seam twist, rib recovery and decoration. If a particular point moves beyond the agreed tolerance, record the value, method and condition of the sample so the supplier can reproduce the observation.
Confirm a pre-production reference before the full order. This sample should reflect the approved fabric, trims, decoration and construction. Check its packaging and labels if those are important to the order. When the product is approved, record the revision of the measurement sheet, fabric references, artwork and packing requirements. If the buyer and supplier hold separate samples, make sure both are approved to the same specification.
Decide how to manage an approved exception. A buyer may accept a small difference for one delivery because the garment still fits and looks as intended. Record the affected style, color, quantity and order. Specify whether that decision applies to future production. A clearly limited exception prevents a temporary adjustment from silently becoming the default. Use the sample approval guide for a framework you can adapt to your buying process.
| Stage | Buyer approval | Evidence |
|---|---|---|
| Prototype | Construction and initial fit | Fitting notes, annotated photos and revision number |
| Fabric and trim review | Material, color and finish | Labeled fabric cuttings, rib and trim references |
| Decoration | Artwork, technique and position | Artwork file and decorated production fabric |
| Wash trial | Agreed measurements and appearance | Before-and-after record with care conditions |
| Production reference | Final fit, construction, labels and packing | Signed sample, tech pack and variant schedule |
Run a wash trial the team can repeat
Write down the planned care process before putting any sample through a wash trial. Identify the water temperature setting, program, drying method and number of cycles the buyer wants to evaluate. Have the same person measure both samples where practical, and lay the garment out in the same way each time. Photograph a few fixed points, such as the neck, hood opening, side seams, cuff and decoration, under comparable light.
Include measurements that reflect what the customer will notice. Body and sleeve length can affect fit, while hem or cuff width can change how the garment sits. Record the direction and amount of change at each point. If a hoodie shrinks mainly in length, simply enlarging every dimension could give the buyer an unnecessarily wide garment. Refer the measurements to the technical team and have them determine whether the fabric, finish or pattern needs revision.
Compare decorated and undecorated areas after drying. A print may feel different from the fabric around it, and an embroidered area may look puckered if the surrounding knit changes dimension. Check the zipper on a washed zip-up and observe whether the tape sits flat when the garment is closed. Review pilling, lint or color transfer under the agreed process. If the buyer requires a lab result, identify the test method and acceptance criteria separately from the practical wear trial.
Keep an unwashed reference so the team can distinguish what changed during the trial from what was already present. If the design has several materially different color or decoration combinations, identify which combinations should be tested before approval. Retain the record with the production specification. A later complaint is easier to investigate when the team can reproduce the original conditions and inspect the same points.
Compare MOQ, quotations and delivery dates
Ask suppliers to quote from the same version of the brief. Give the quantity by style, color and size, and state the order destination and packaging method. Request separate lines for product, decoration setup, sample charges and other applicable costs. If suppliers offer an alternative material or construction, ask them to identify the difference and quote it separately. That gives the buyer a clear comparison at the agreed specification.
Find out where minimum quantities apply. A supplier may be able to sew the total quantity while still requiring a minimum for each dyed color, trim or artwork variant. If a first collection contains too many combinations, identify which components can be shared and which colors could be introduced later. Compare the commercial impact on the assortment and get approval before reducing the original range. For more detail, see the bulk order MOQ guide.
Build the delivery schedule backward from the date the garments must be available to sell or issue. Include time for the fit round, artwork approval, production, final checks and transport. Ask the supplier to define the event that starts its quoted lead time. An approval date and a production start date can be different when materials or trims still need to arrive. Confirm the dates and dependencies before tying the launch to a public announcement.
Decide what happens if an approved material is unavailable. A substitute can change drape, color or decoration performance even if the composition and nominal weight match. Ask for a fresh swatch or sample for the affected approvals. Specify who signs off on changes and where the decision is recorded. Keep the purchase order and technical file aligned so the receiving team knows which version to expect.
Prepare the receiving inspection and reorder file
Use the signed pre-production sample and approved specification when checking deliveries. Begin with carton labels, product codes and counts by size and color. Select pieces from the relevant variants according to the buyer’s inspection plan. Review measurements, construction and artwork against the agreed requirements. Record defects with the style, size, color and carton information so the supplier can identify the affected production lot.
Look at the features customers will use repeatedly. Operate the zipper, stretch the cuffs as they would during dressing and examine the seams around the pocket. Check whether labels and artwork match the order variant. If the receiving team finds a difference, document it before blending cartons into store or warehouse inventory. Photographs with a measuring tape or approved reference can make a review easier when the supplier is in another location.
Store reference files in one folder or system entry. Include drawings, measurement sheets, artwork, material codes, approvals, order details and packing documents. Keep a physical reference where practical. If the original material is no longer available, use the recorded specifications and a current comparison sample to review a substitute. If a size sold out first, check actual demand and original order quantities before changing the size ratio on a reorder.
Track customer returns and exchanges using reasons specific enough to guide a decision. Size preference, zipper difficulty and a printing issue point to different actions. Compare customer feedback with the receiving records and decide if you need a revised specification or a clearer size chart. A reorder is an opportunity to correct a documented problem and test the revision before it reaches the full range.
Use a one-page handoff for the first quotation
The buyer should be able to hand the supplier one clearly identified package. Begin with an overview of the hoodie, the intended wearer, the markets and the target date. Add the technical sketches, measurements, fit reference, proposed fabric and trim requirements. Attach the artwork and placement chart as separate files so a supplier does not have to extract the image from a presentation or email thread. List the quantities by color and size even when they are still provisional.
Make a short list of decisions the supplier can propose. The buyer might specify a particular silhouette and graphic but welcome options for matching rib, body fabric or zipper pull. For every proposed option, ask for the same information. A labeled fabric cutting, a quote by variant and a sample delivery estimate let the team compare ideas without redoing the entire brief. Mark the difference between the base quote and the options before circulating the comparison.
When information is missing, show where it should come from. For example, if the final size ratio depends on preorders, include the expected date and the provisional ratio for pricing. If artwork approval depends on the brand team, include the owner and approval date. These notes can prevent a supplier from proceeding with a preliminary file or ordering the wrong material while waiting for a decision.
Start with the hoodie category and use the M&A Sourcing contact page to share the package. If the garment is intended primarily for a staff uniform, the workwear hoodie buying guide addresses that use. For a brand or merchandise order, bring the customer, launch plan and approved technical references into the same discussion so that the quotation reflects the garment you intend to sell.
Example brief for a two-color brand launch
Consider a brand developing a pullover in two colors with a chest logo and a large back graphic. In the first quotation, the buyer lists the same proposed fabric in both colors and gives a provisional quantity breakdown by size. The logo and back graphic are identified separately in the quote request. The buyer asks whether the print colors need to change on the darker body and requests a sample on both backgrounds if the contrast changes.
The first fitting shows the hood covers the top of the back print when it is down. The buyer marks the covered area on a photograph and adjusts the print position. The team also discovers that shifting the design too far down makes it look low on the smaller sizes. They approve two print positions tied to defined sizes and update the placement sheet. In a subsequent round, the team measures the prints from the same point, checks the hood in use and reviews the garment after washing.
When the supplier quotes the second color, the buyer learns that the matching rib and fabric are subject to separate minimums. The buyer compares the effect of switching the shade, increasing that color’s quantity or launching the second color later. Each option affects stock risk and delivery differently. The chosen option is recorded by product code and color so the approved size schedule and purchase order stay aligned.
This example shows why the technical and commercial records should develop together. Moving artwork can affect production instructions. Adding a color can change the minimum and delivery schedule. A dated decision list lets the buyer see which parts of the specification are ready for approval and which still depend on a quote, wear trial or artwork review.
Frequently asked questions
What should I include in a bulk custom hoodie brief?
Include the intended wearer, silhouette, size range, fabric and finish, measurements, trims, artwork, order quantities and target delivery date. Separate requirements from options the supplier can propose. Use versioned files so every supplier quotes the same garment.
Should I choose French terry or fleece for custom hoodies?
Compare swatches and finished samples under the intended conditions. Check inner surface, weight, drape, fit, rib behavior and decoration after laundering. Approve the production material by reference, composition, finish and color.
Is embroidery or printing better for a custom hoodie logo?
Test the intended artwork at its final size and on the production fabric. Compare small text, coverage, feel, location and appearance after washing. A small chest mark and a broad back design may call for different methods.
How do minimum orders apply to custom hoodies?
Ask the supplier to confirm minimums by style, fabric, color, trim and artwork variant. A total order can satisfy the sewing minimum while an individual material or color remains below its own minimum.
What should I approve before custom hoodie production?
Approve the fit, measurements, materials, colors, trims, decoration, wash results and labels. Keep a signed production reference with the corresponding specification and packing details. Review any proposed substitution before production.
How can I make a repeat hoodie order consistent?
Retain the approved sample, fabric and trim references, artwork and placement, measurements, wash results and carton instructions. Check the new quotation against that record and review any proposed changes with the supplier.