T-Shirt Tech Pack: 8 Essential Fields for Bulk Production
A T-shirt tech pack turns a design idea into instructions that can be quoted, sampled and reviewed consistently. Its value comes from clear decisions and controlled revisions, not from a large number of pages. This guide explains eight practical fields international buyers can prepare before discussing bulk T-shirt production in Bangladesh.
Prepared by M&A Sourcing Ltd. for clothing brands, importers and sourcing teams. For the wider supplier-selection discussion, read our T-shirt manufacturer in Bangladesh guide. This article focuses on t-shirt tech pack so you can prepare a more specific enquiry.
Table of Contents
1. Give the product a stable identity
Start with a cover sheet containing the buyer’s style code, garment name, season or programme, revision number, date and main contacts. Use the same style code on the quantity allocation, artwork and sample comments. A stable identity prevents a supplier from combining the front drawing from one version with measurements from another.
Add a short use description: everyday retail tee, promotional garment, oversized fashion style or another defined category. Identify the target wearer and destination market. This context helps explain your decisions, but it does not replace measurable specifications. Mark development questions clearly so they receive an answer before release.
2. Include technical drawings and detail views
Show the front and back without relying on a model pose that hides construction. Add close-ups for neckline, sleeve hem, side vents, labels, pockets or unusual seam positions. Number the details and connect them to notes. Where a reference photograph is used, explain which feature matters and which elements are not part of the requested design.
Use a consistent naming system for garment parts. If a collar seam or shoulder reinforcement is important, identify its location and intended finish rather than simply writing premium construction. Ask the supplier to flag any ambiguity instead of selecting an interpretation that may later require a new sample.
3. Create a bill of materials
A bill of materials identifies the body fabric, rib, thread, reinforcement, labels, decoration and packing components. Give each a reference code and status: proposed, under review or approved. Include fibre composition, knit structure, target weight and colour reference for the fabric. Describe additional properties only where they are relevant to the garment.
Record which material was used in each sample. If development uses a substitute, list the difference and the decisions it cannot establish. A sample in a different rib or fabric may help explain construction while leaving neckline recovery, drape or washed measurements unresolved. Keep alternatives separate from approved production references.
4. Define points of measurement and tolerances
Provide a diagram and a measurement chart by size. Explain the garment condition and the measuring method: laid flat, relaxed or another agreed condition. Define where body length begins, how chest width is taken and how sleeve measurements are located. A number without a method can produce two different results on the same sample.
Assign tolerances that the buyer and supplier have agreed are appropriate for each point. Do not copy a tolerance merely because it appears in another product’s chart. Identify the base size and proposed grading, then review relevant sizes across the range. Distinguish garment measurements from body measurements used for customer size guidance.
5. Specify construction and finishing
Describe the neckline, shoulder seams, sleeve and bottom hems, reinforcement and any decorative stitching. Use drawings or approved reference details where wording alone is insufficient. If stitch density or another numeric requirement is specified, ensure it is intentional, feasible and tied to the intended construction rather than borrowed from an unrelated garment.
Include finishing expectations such as loose-thread removal, label attachment and presentation. Discuss how the construction interacts with decoration and care. A bulky seam beneath a print or an uncomfortable label position can affect the garment even when individual components appear acceptable in isolation.
6. Control artwork, labels and placement
List artwork filenames and revision identifiers, finished dimensions, colour references and application method. Show placement from stable garment landmarks rather than the edge of a loosely positioned mock-up. State whether placement changes by size. Separate the digital artwork approval from approval of the physical decoration on the intended material.
Include neck, size and care labels as distinct components. Review wording and market requirements with the responsible buyer or importer before approving production artwork. Confirm barcode data and readable text where relevant. A tech pack should not leave final legal or identification wording to an unrecorded last-minute assumption.
7. Add assessment and approval requirements
Identify which material and garment assessments matter to the intended product, including dimensions after agreed care, colour behaviour, appearance or decoration checks. Agree methods, sample references and acceptance criteria with the supplier and relevant laboratory. Do not write pass testing without identifying what is to be evaluated.
Create a sample comment sheet with measured results, photographs, requested changes and decision owner. Use separate statuses for approved, revise and resubmit, and approved with explicitly documented exceptions if that route is agreed. A fit-only approval must remain distinct from permission to begin bulk production.
8. Connect packing, allocation and revision control
Attach the style-colour-size quantity matrix, unit presentation, carton assortment, carton markings and packing-list requirements. The codes in these records should match the technical pack. If your warehouse needs a specific barcode or carton grouping, approve a sample reference before packing begins.
Maintain a revision log stating what changed, why and who authorised it. Send the complete current pack with the revision date and retire superseded files. Before bulk release, ask both parties to confirm the final reference set. This is more reliable than expecting the factory to reconstruct instructions from scattered messages.
Buyer decision worksheet
Use this worksheet in your next supplier discussion. Add the reference, owner and decision date to each item, and keep outstanding questions visible until they are resolved.
| Tech pack field | Example record | Common ambiguity to resolve |
|---|---|---|
| Style identity | Style code, revision and contact sheet | Which version is current? |
| Materials | Coded body fabric and rib references | Was the sample made in a substitute? |
| Measurements | POM diagram and size chart | Where does the tape begin and end? |
| Artwork | Versioned files and placement diagram | Is digital approval also physical approval? |
| Assessments | Method, sample and acceptance record | What does pass actually mean? |
| Packing | Allocation and carton instruction | Do codes match the garment labels? |
Example: turn a vague neckline comment into a controlled revision
A fictional buyer writes that a sample neckline is too wide. That observation needs a defined response. The team first checks the sample identity and measured neck opening against the current pack, then reviews the intended appearance and wearer fit. If the garment is outside the agreed specification, the supplier addresses that discrepancy. If it matches the specification but the design is unsatisfactory, the buyer must approve a design revision.
The revised pack records the new measurement and any related rib or construction change. It keeps the previous value in the revision history rather than silently overwriting the source file. The team identifies whether the change affects other sizes and which sample or evidence is needed for approval. The next comment sheet can then check the agreed correction instead of repeating a general complaint.
Before sharing the pack for bulk release, perform a document reconciliation. The style code, revision date, fabric reference, size chart, print dimensions, label versions and packing allocation should agree. Ask the supplier to raise a query on any conflict. A carefully controlled small pack is more useful than an extensive document whose pages contain inconsistent instructions.
Illustrative preparation progress
The bars show sequence only. They do not measure production completion, elapsed time or your order’s current status.
1. Prepare the product reference
2. Identify open technical questions
3. Review supplier proposals
4. Record samples and evidence
5. Approve corrections and final references
Related T-shirt products and buying guides
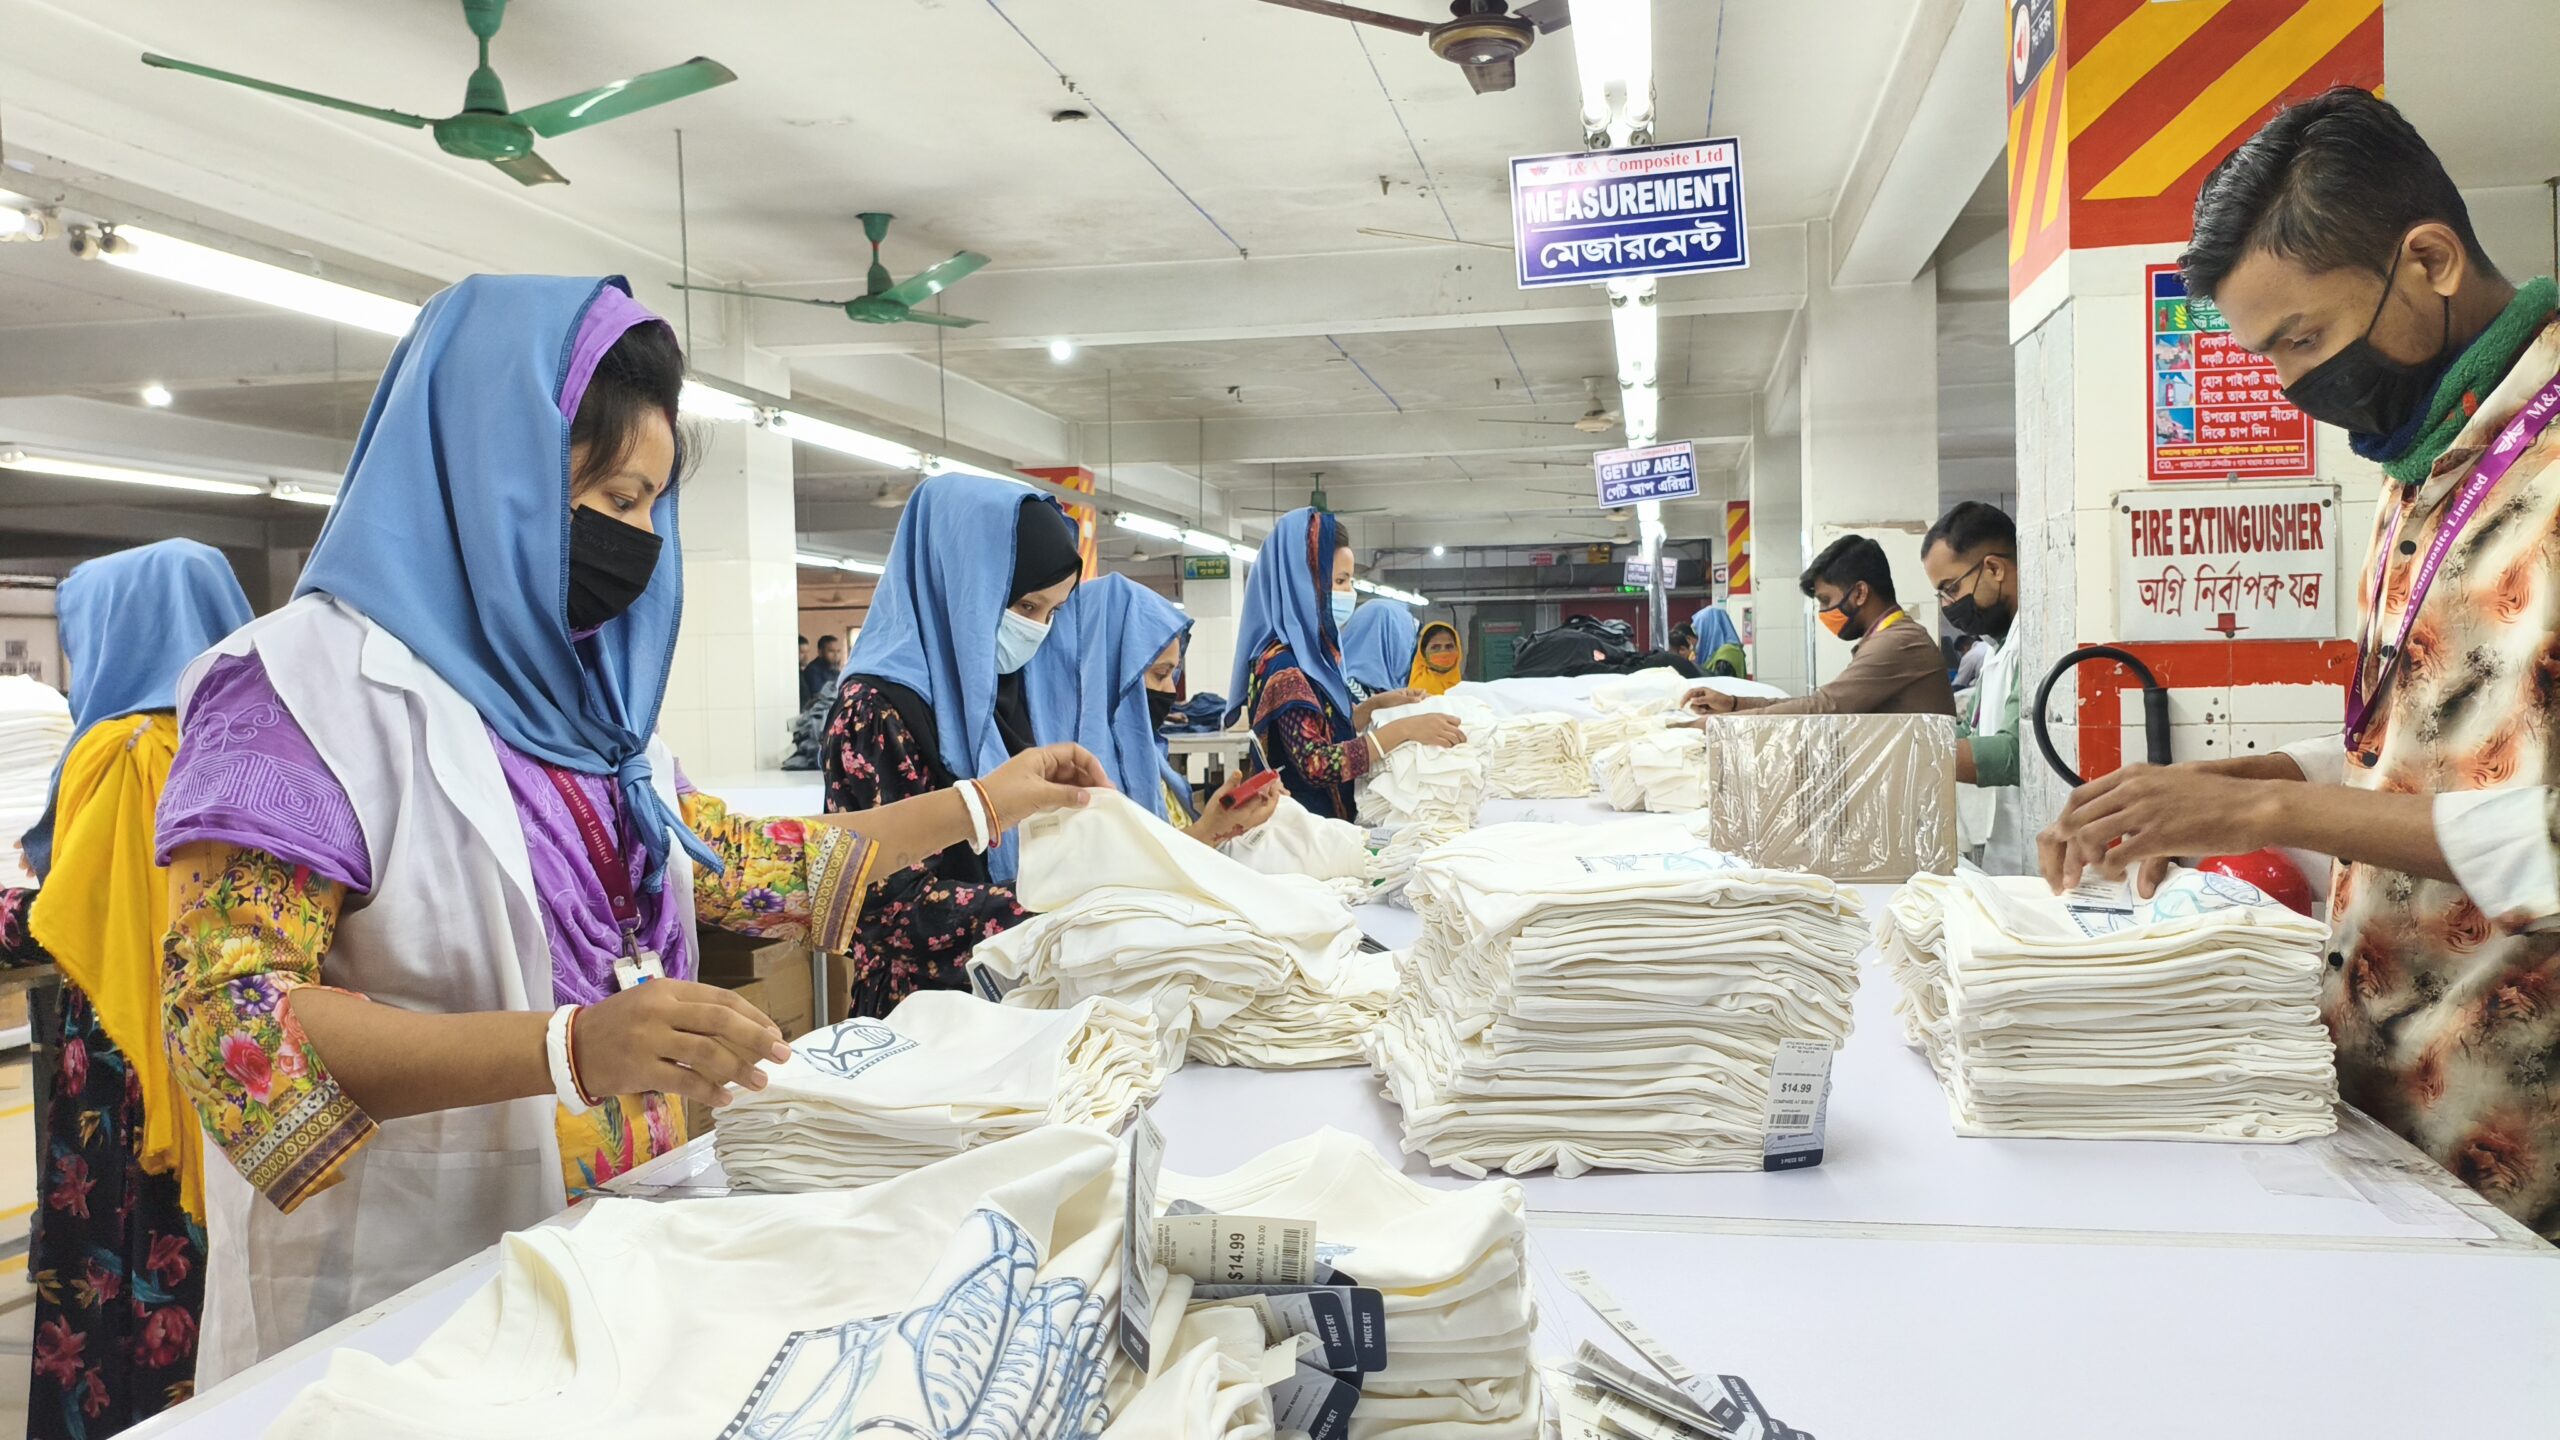
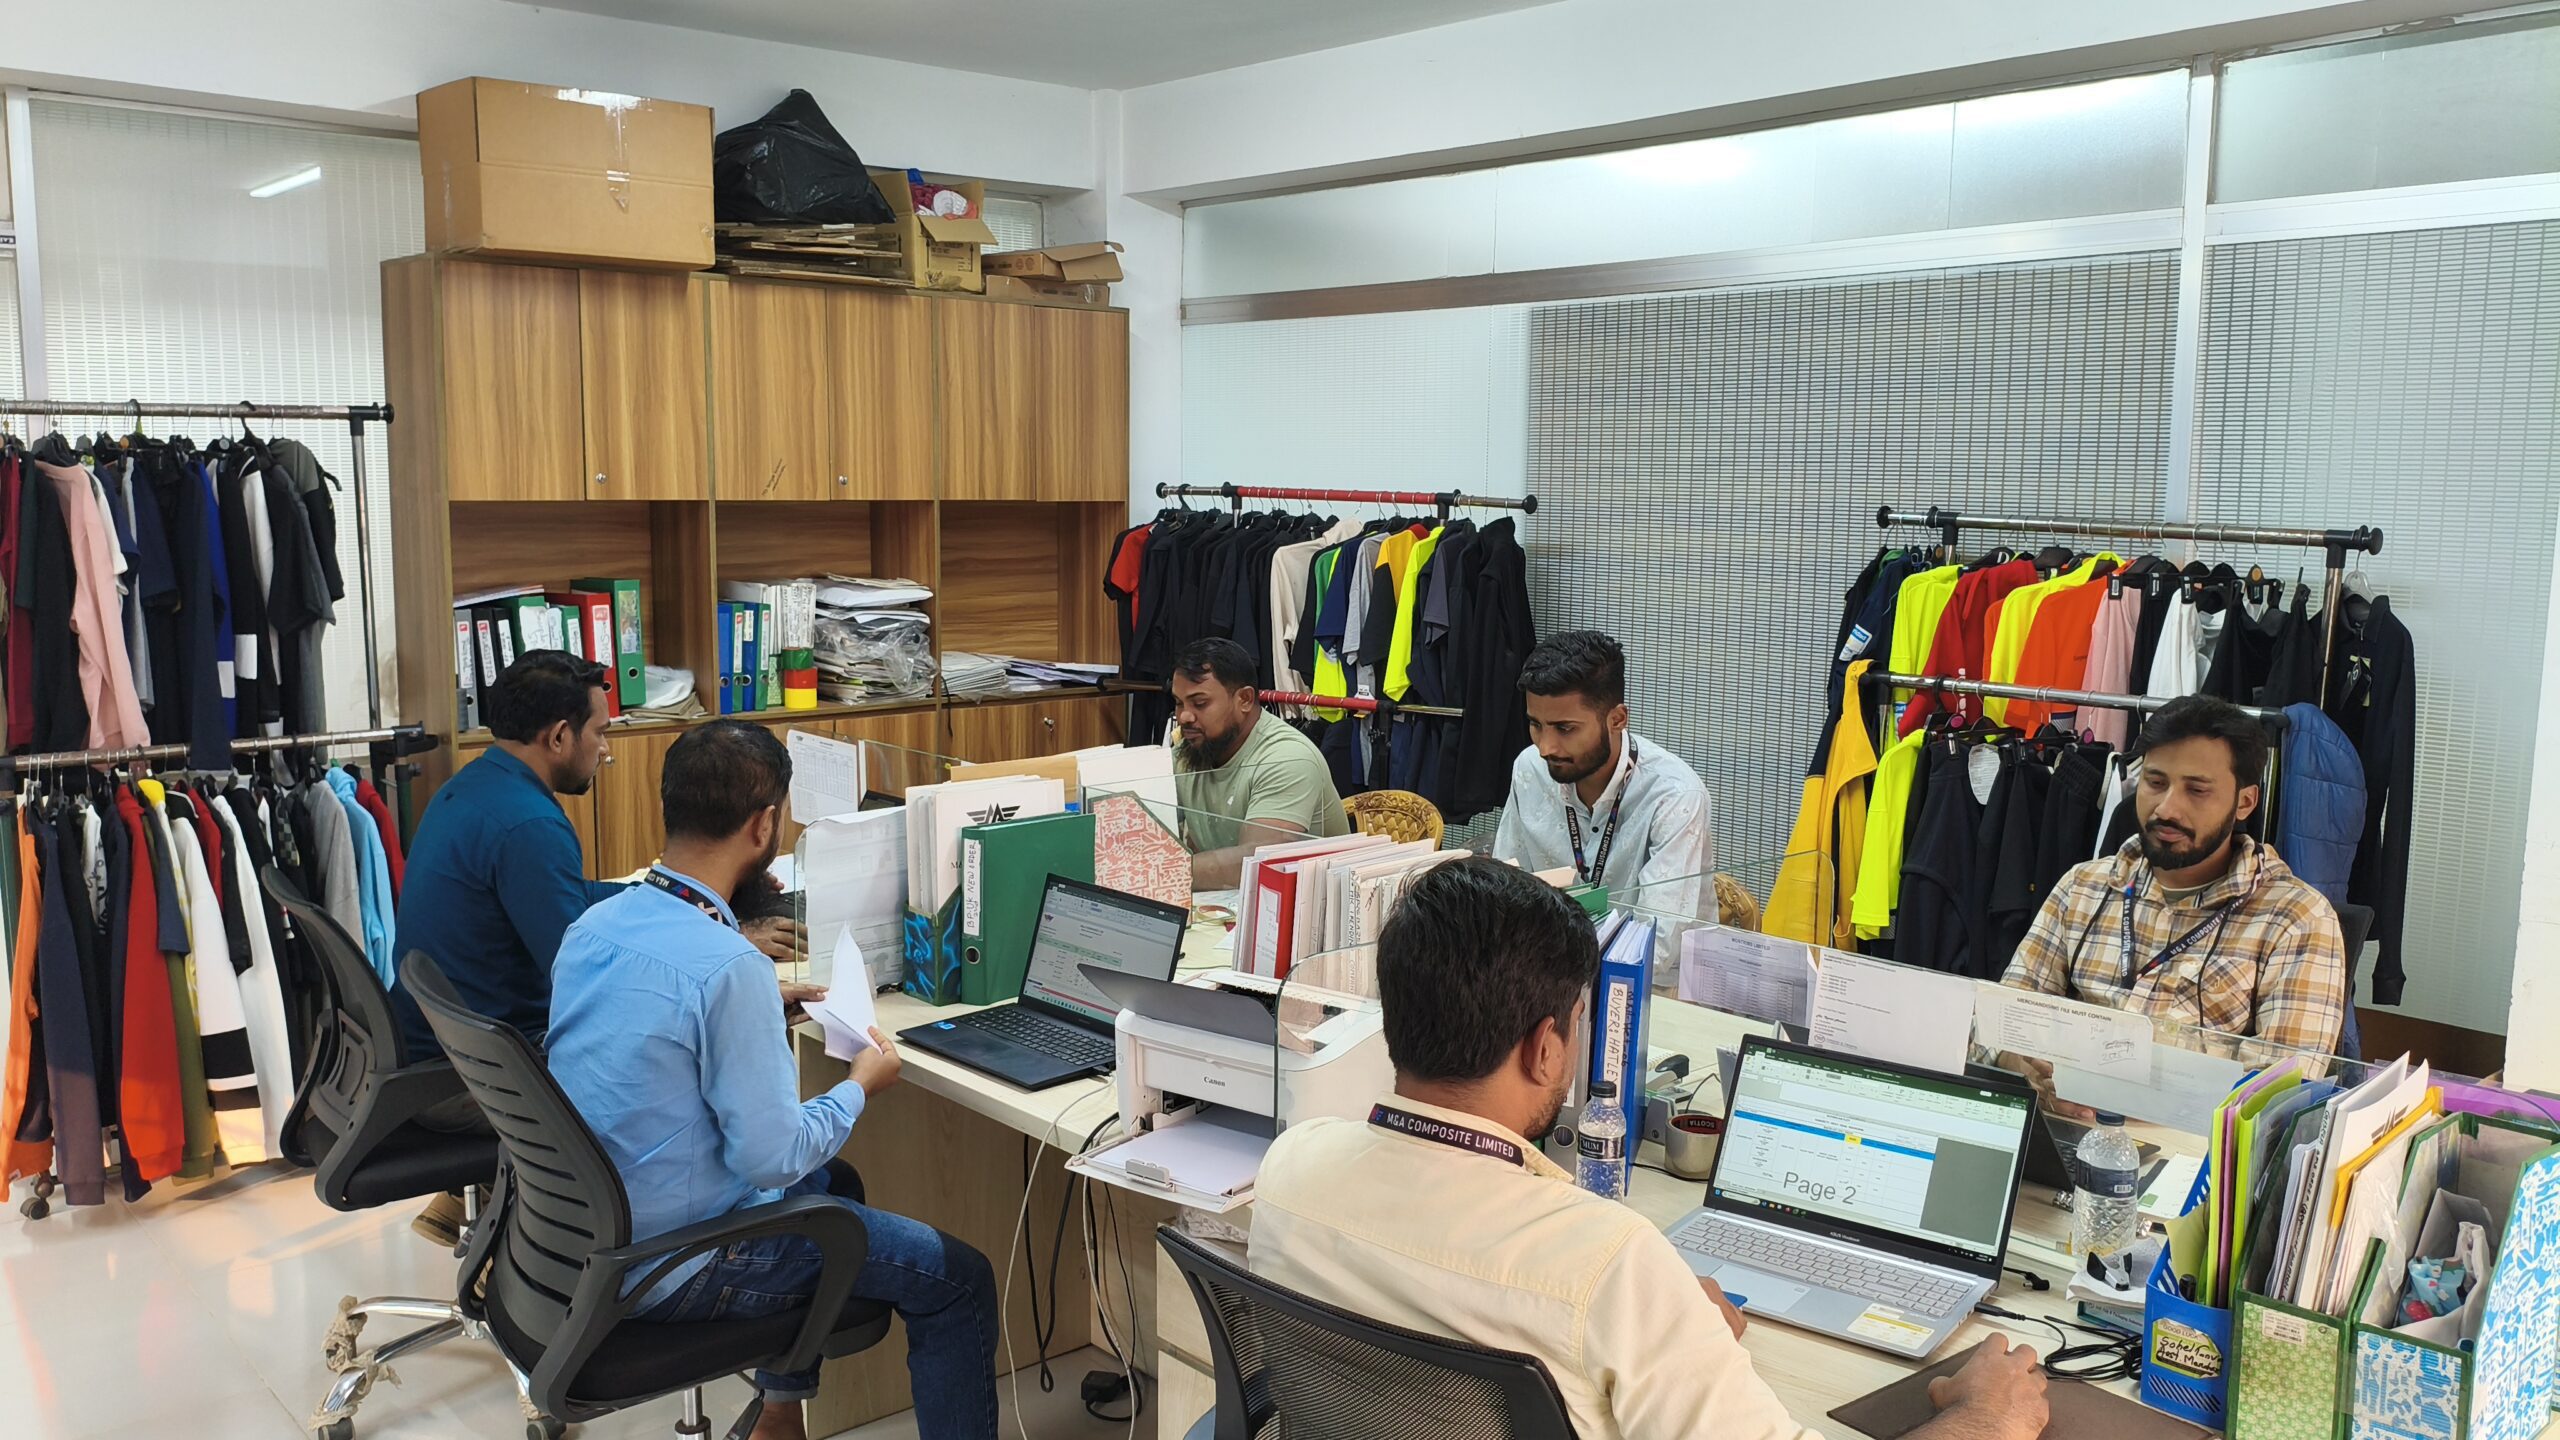
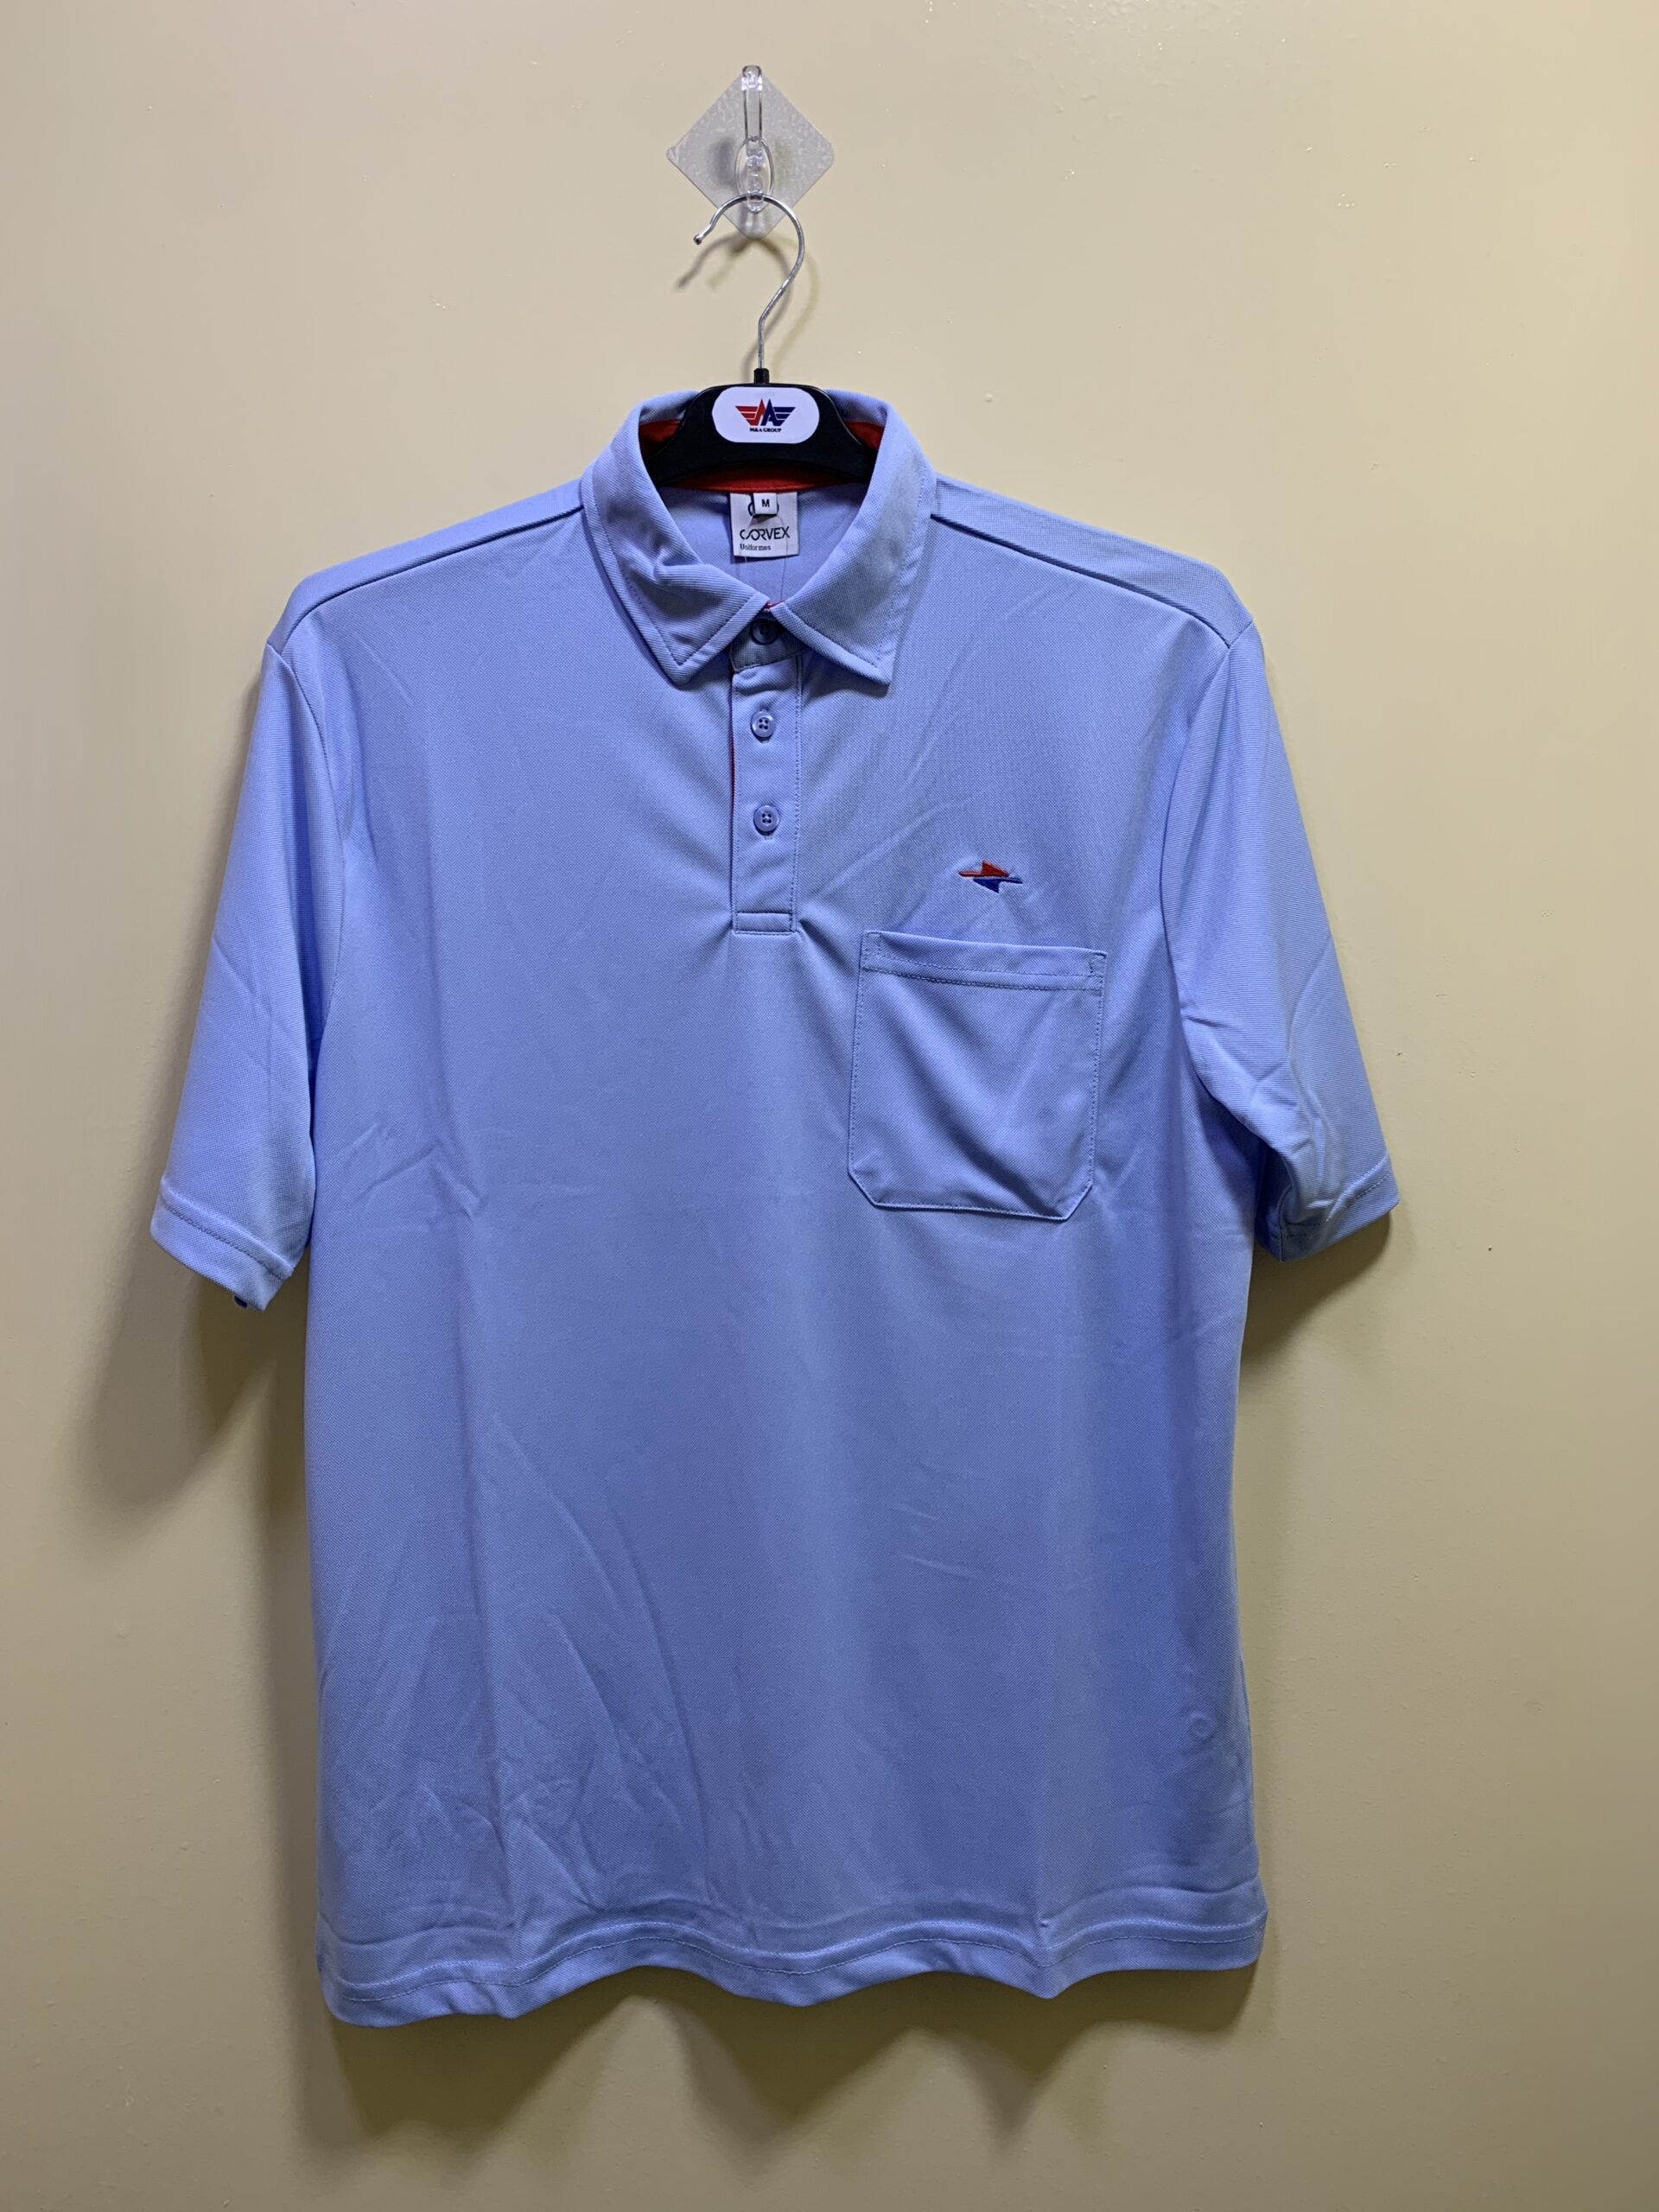
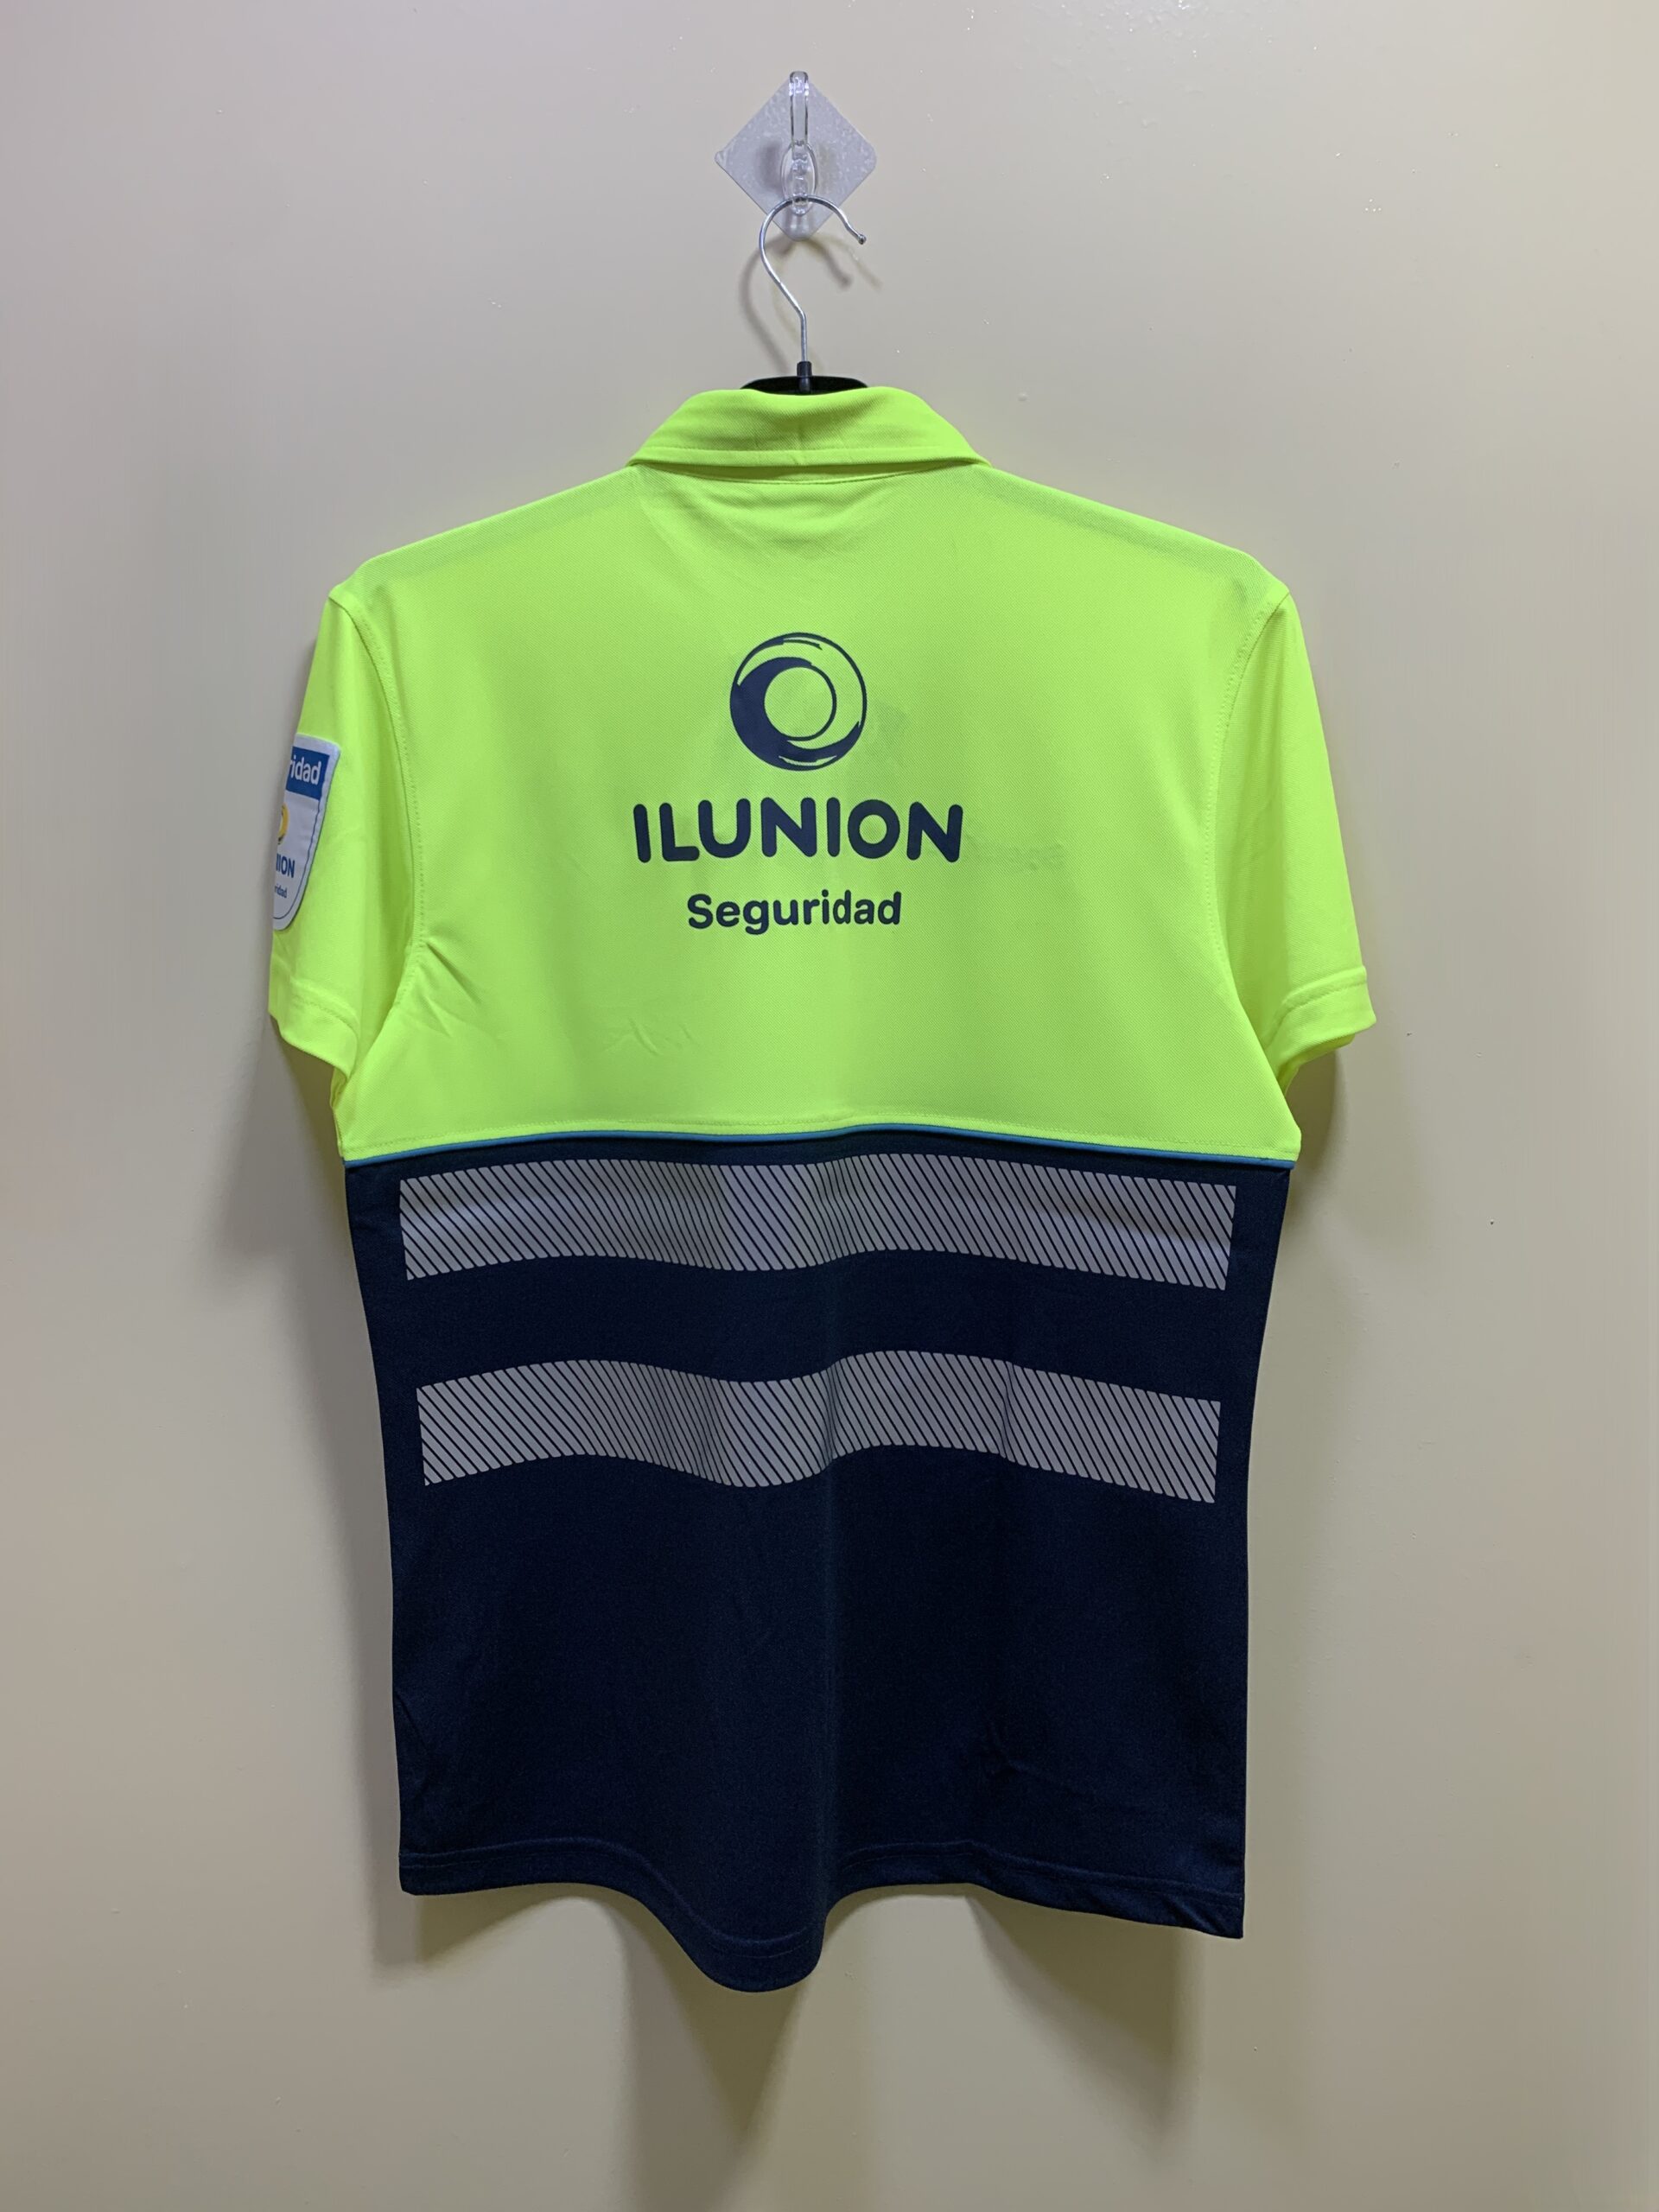
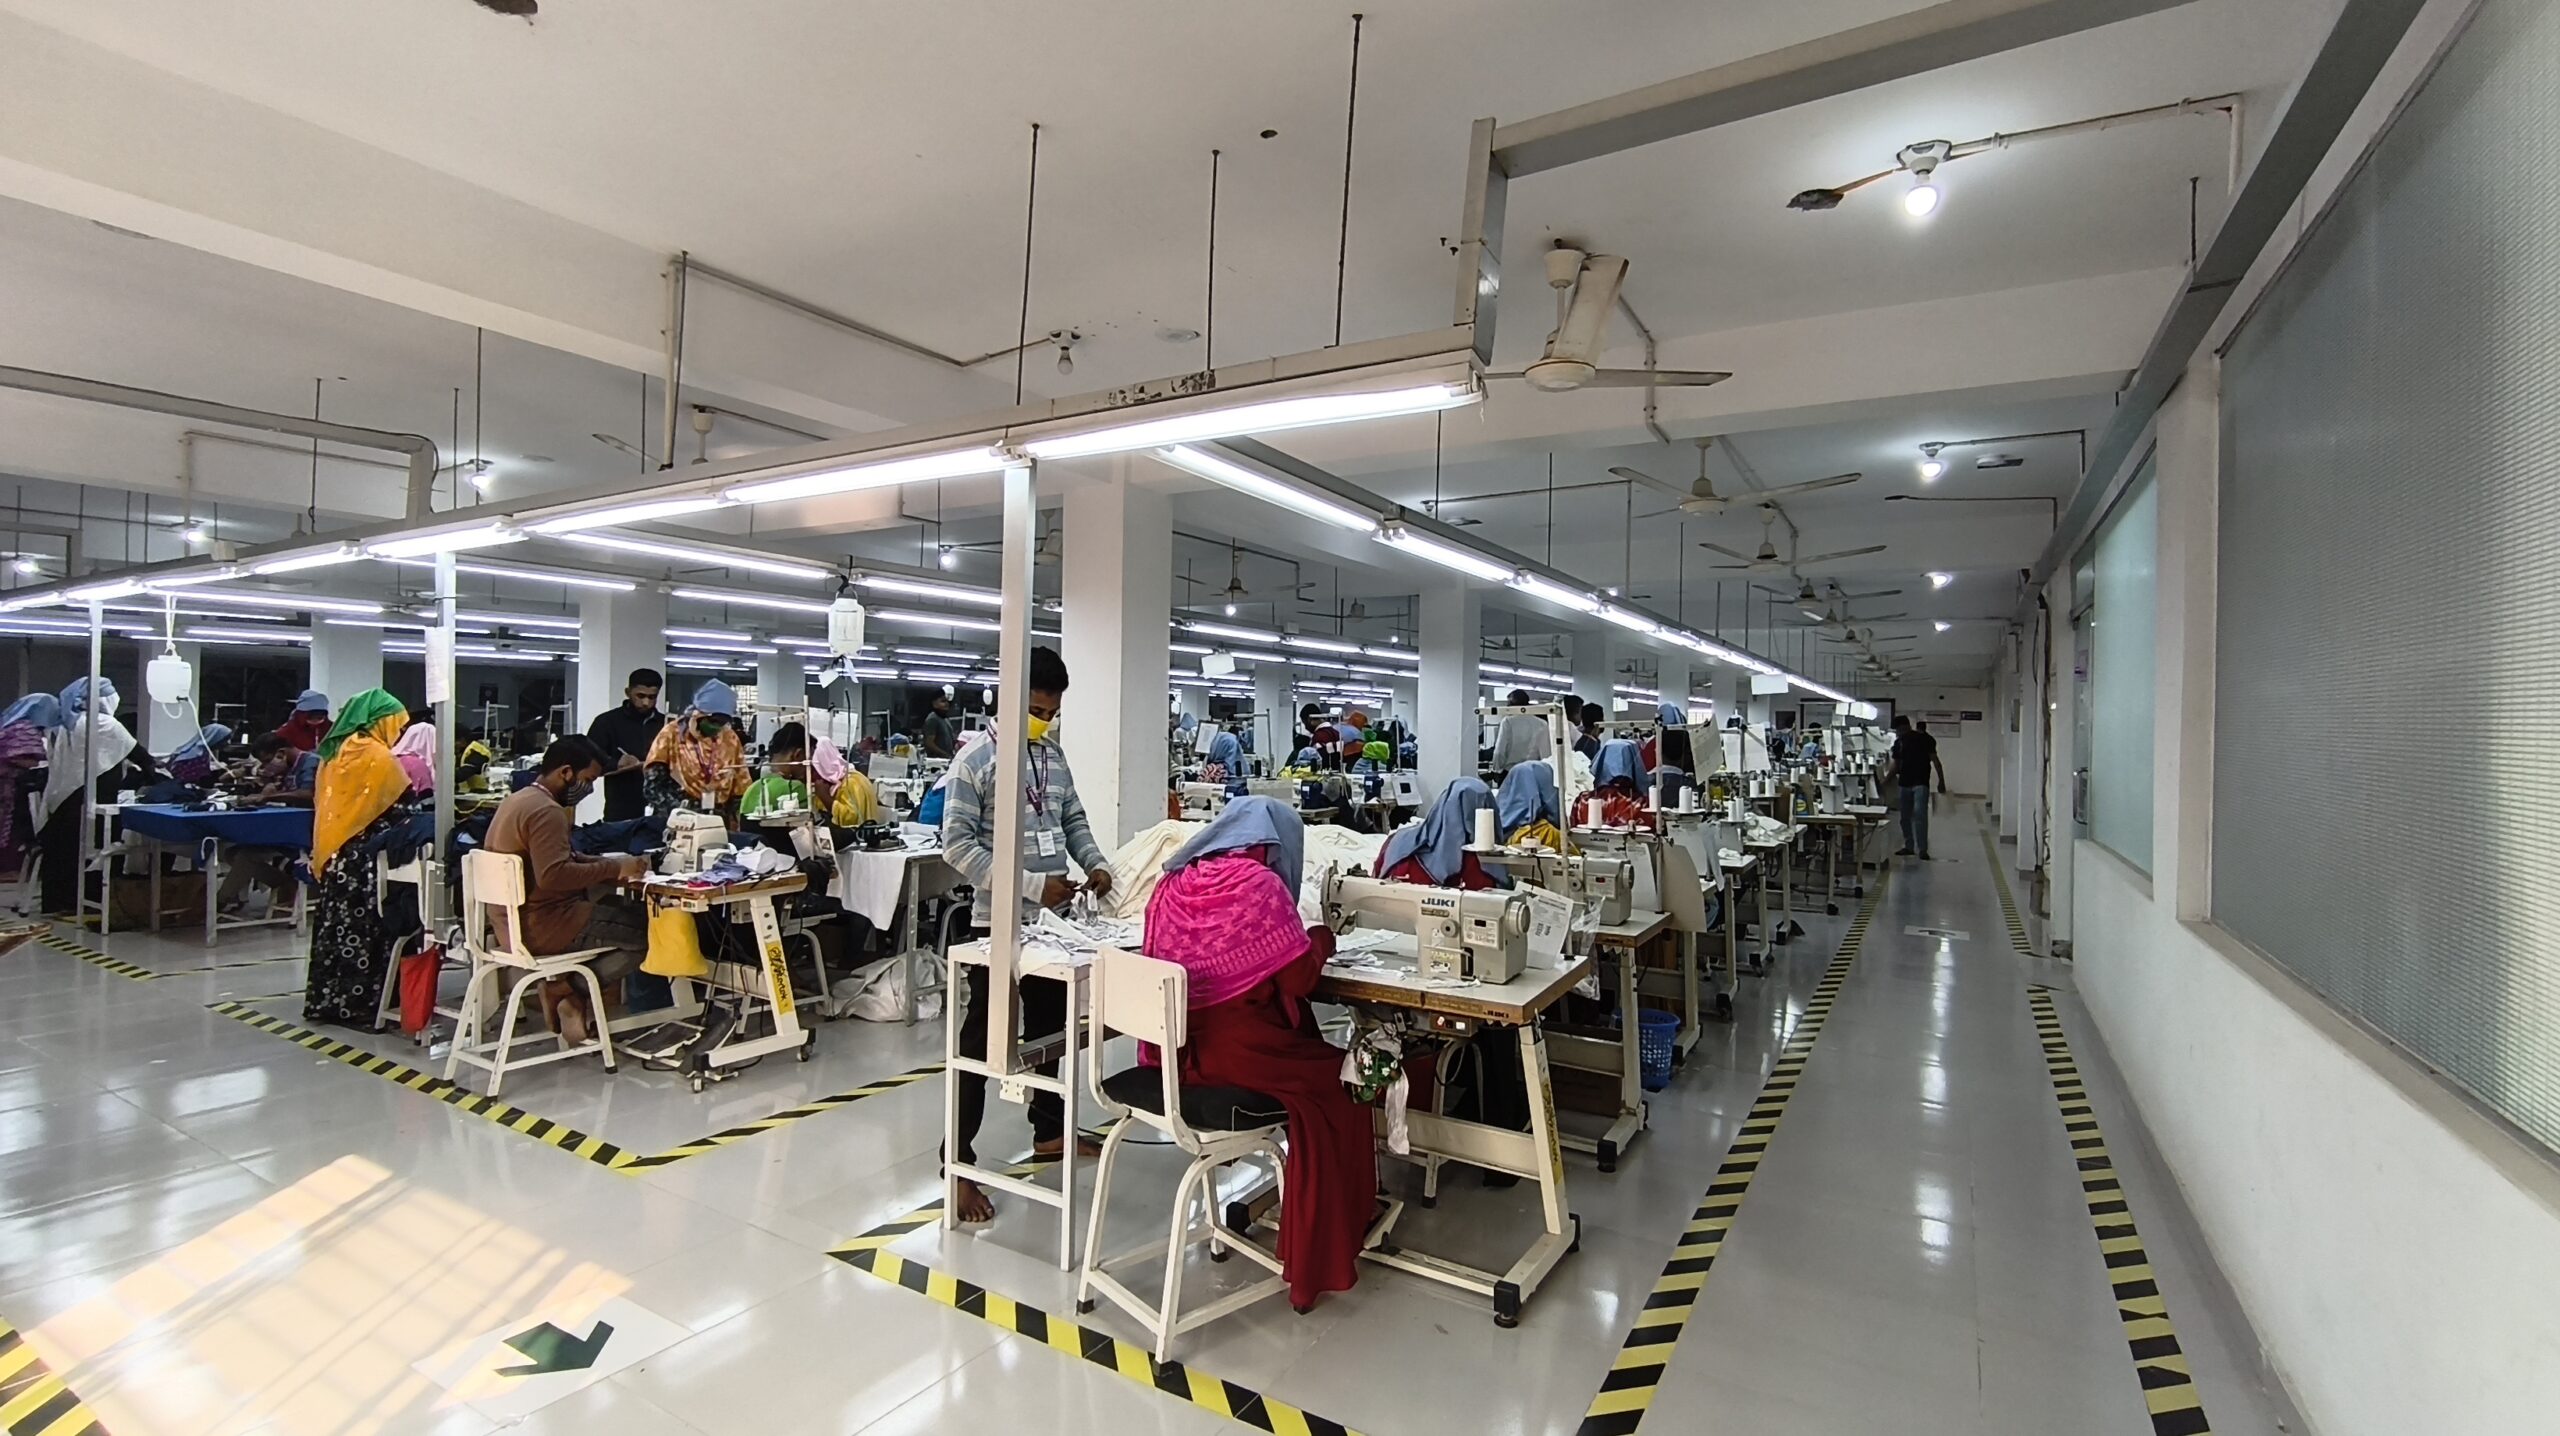
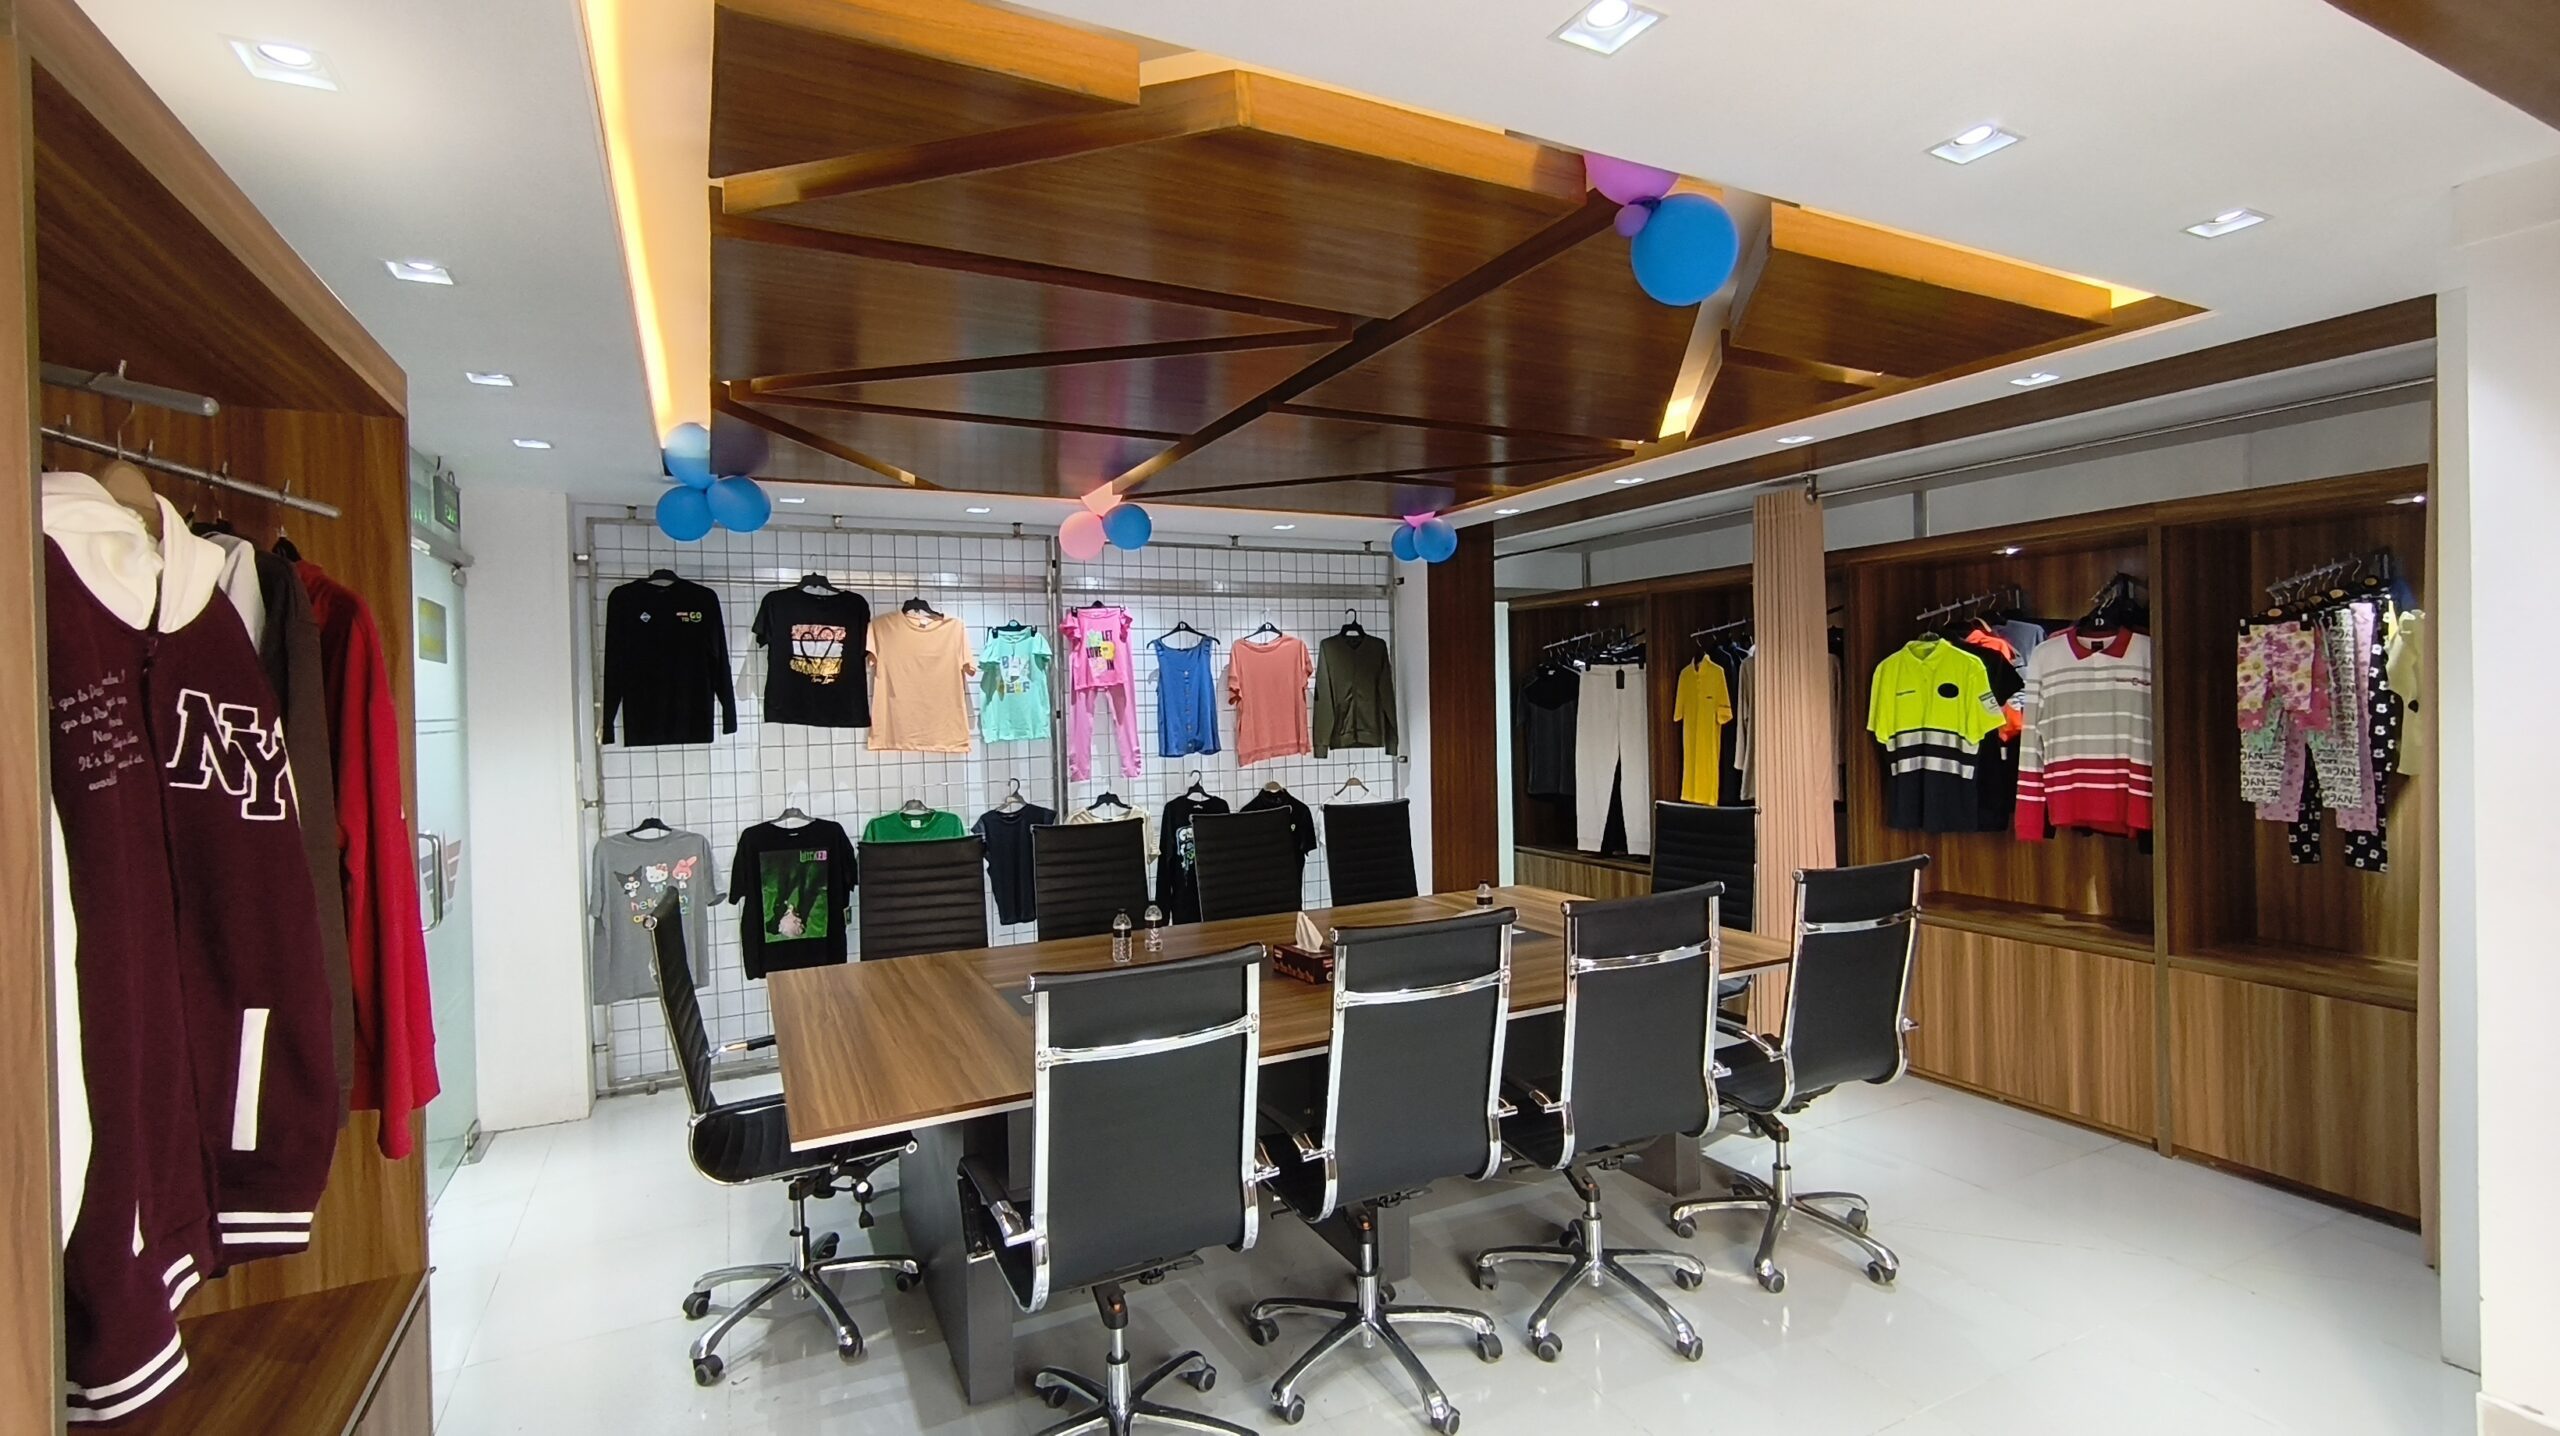
These existing media-gallery photographs are garment and company references. They do not verify a customer relationship, certification or a specification for a new order. Confirm the actual proposed product through your brief and approvals.
Continue with the related guides:
- Private Label T-Shirt Manufacturing in Bangladesh: A Buyer’s Guide
- T-Shirt Fabric Selection: GSM, Shrinkage and Colourfastness
- Custom T-Shirt MOQ: A Practical Guide for Clothing Brands
- T-Shirt Sample Approval Checklist for International Buyers
For US-market label planning, consult the FTC clothing and textiles resources and care-labelling guidance with the responsible importer. Confirm the current requirements for the actual garment and destination rather than reusing a label without review.
T-Shirt Tech Pack: FAQs
What is a T-shirt tech pack?
It is a controlled set of product instructions covering design, materials, measurements, construction, artwork, assessments and packing. It helps the buyer and supplier discuss the same garment reference.
Can a reference photo replace a tech pack?
A photo can communicate appearance, but usually cannot define all measurements, materials and construction. Add technical drawings, a measurement method and the important component references.
Do I need every detail before the first enquiry?
You can begin with an incomplete brief if unresolved fields are clearly identified. Ask the supplier which decisions are needed for feasibility, an indicative quotation and sample development.
What is the difference between a body chart and garment chart?
A body chart describes wearer dimensions; a garment chart describes the product. Their relationship includes the intended fit and ease, so they should not be treated as interchangeable.
Who approves changes to the tech pack?
Name an authorised buyer contact and record each approved revision. Clarify how technical questions and supplier-proposed alternatives will be reviewed before production.
Should a repeat order use the previous tech pack?
Use the final approved reference as the starting point, then confirm materials, artwork, quantities and any proposed changes. Do not assume an old draft is the approved version.
Send your enquiry with garment references, estimated quantities by colour and size, target market, branding requirements and required delivery window. Attach the current technical pack if available and identify which decisions need development support.
Review our T-shirt manufacturing and supplier-selection guide for the wider buying process.