Oversized T-Shirt Manufacturing: 10 Essential Tips for Brands
Oversized T-shirt manufacturing requires clear decisions about silhouette, shoulder position, sleeve proportion, materials and branding. For clothing brands and international buyers sourcing from Bangladesh, those decisions provide the basis for useful quotations, samples and production instructions.
This M&A Sourcing Ltd. guide explains how to prepare an oversized garment brief and review the proposed result. It supports our main T-shirt manufacturer in Bangladesh guide with a focused discussion of fit development and product approvals.
Table of Contents
1. Define an oversized silhouette before discussing production
Oversized T-shirt manufacturing starts with a deliberate silhouette. A garment can have a wider body, dropped shoulders, longer sleeves, a shorter boxy body or a combination of those choices. Simply increasing a regular-fit size can change the neck opening, length and sleeve proportions in ways the designer did not intend.
Prepare front and back references and describe the intended wearer and styling. Explain whether the tee should look structured, fluid, cropped or long. Identify which visual features are essential. A supplier can then discuss pattern development against a specific objective rather than interpreting oversized as a universal fit.
For the broader supplier-selection process, read our T-shirt manufacturer in Bangladesh guide. This article focuses on developing the oversized product itself and preparing a clearer enquiry for M&A Sourcing Ltd.
2. Build a measurement chart that explains the shape
Specify chest width, body length, shoulder width, sleeve length, sleeve opening, neck width and other relevant points. Add diagrams showing where each measurement begins and ends. State whether the garment is measured laid flat and relaxed, and agree the applicable tolerance at each point.
Record garment measurements separately from the customer-facing body size chart. The extra room between body and garment is part of the design. A wide chest combined with a short body creates a different look from a longline garment, even when both use the word oversized.
Use the T-shirt tech pack guide to organise the chart, drawings and revision history. Before requesting a correction, check whether the sample differs from the specification or whether the specification itself needs a design change.
3. Review dropped shoulders and sleeve balance together
A dropped shoulder affects where the sleeve begins. Review shoulder extension, armhole shape, sleeve length and sleeve opening together rather than changing only one measurement. A sleeve measured from the garment shoulder seam does not describe the same visual relationship when that seam moves farther down the wearer’s arm.
During fitting, review the garment from the front, back and side and observe movement. Look at sleeve angle, underarm volume, hem position and overall balance. Photograph the sample with its identifier and record the technical change required, rather than relying on a general comment such as make it more streetwear.
Keep the intended look consistent with the wearer range. A design that looks balanced on one fit model may need additional review at other sizes. Decide which size-set checks will be used before approving the full range.
4. Select fabric for drape and structure, not GSM alone
GSM describes fabric weight per unit area. It does not independently prove quality, durability or a particular oversized silhouette. A material’s composition, knit construction, yarn and finishing also affect appearance and handling. Compare representative swatches and actual garment samples against the intended design.
State the desired opacity, surface appearance, softness and body shape, along with the intended decoration and care. A fabric that works for a fluid oversized tee may not create the firm boxy appearance another brand wants. Review the neck rib with the body material because both contribute to the finished appearance.
Our T-shirt fabric selection guide explains how to organise material and assessment questions. Confirm the exact proposed material reference in the quotation and sample record. A substitute fabric can support some development work while leaving drape and washed fit unresolved.
5. Specify the neckline and construction details
Describe the neckline shape, rib appearance, attachment and any reinforcement required. Include a detail drawing or an approved physical reference where wording could be interpreted differently. Review the neckline on the garment rather than assessing a rib swatch alone.
Check shoulder seams, side seams, sleeve hems and bottom hems against the intended look and technical pack. A wide sleeve opening or a substantial hem can be a deliberate design feature; it should appear in the specification rather than emerge accidentally during sampling.
Assess comfort and movement alongside appearance. Record any seam bulk, label irritation or construction concern using a located photograph and a clear requested change. If the correction affects another measurement or component, update the related instructions at the same time.
6. Scale artwork and placement for the approved garment
A graphic that looks balanced on a regular tee may appear different on a wider body. Specify the artwork’s finished dimensions and placement using stable garment landmarks. Decide whether the application size and position remain constant or vary across garment sizes.
Approve the digital artwork and the physical application as separate decisions. Review the actual print or embroidery on the intended material for appearance, feel and interaction with the garment. If the material or application method changes, determine which parts of the earlier approval need another review.
Include neck labels, size tabs, care labels, hangtags and packaging graphics in an artwork register. Use our private-label T-shirt guide to prepare the brand identity handover. Confirm permission for any third-party artwork or branding before production.
7. Review the silhouette after the agreed care assessment
Approve the intended appearance before and after the agreed care process. Record the sample reference, procedure, washing and drying conditions, assessment cycles and acceptance requirements. Distinguish fabric evidence from the behaviour of the complete garment with its rib, seams and decoration.
AATCC TM150 concerns dimensional changes of garments after home laundering. Discuss the appropriate assessment with the relevant laboratory and supplier. The method reference does not establish a universal acceptable shrinkage limit and does not replace the complete applicable procedure.
Compare body width and length, sleeve proportions, neckline and overall appearance after the assessment. If a result requires correction, ask for a documented proposal and determine whether a new sample or further evidence is needed. Do not approve an unexplained pattern adjustment solely because it is intended to offset shrinkage.
8. Use sample approvals to resolve defined questions
Agree a development route with clear purposes: construction development, fit review, decoration review and a complete pre-production reference where appropriate. The same sample may support several decisions, but every known substitution or incomplete detail should be recorded.
Use the T-shirt sample approval checklist to identify the sample, measure the garment and record comments. Separate observations from instructions. A statement that the body feels too long needs a measurable correction or another fit review before the supplier can act consistently.
A fit-only approval is not automatic permission for bulk production. The authorised buyer should identify the complete reference set and any remaining exceptions before release. Keep the final approved pack, artwork and garment references together.
9. Confirm MOQ, allocation and quotation assumptions
Prepare quantities by style, colour and size. Minimums may apply to individual styles, colours, materials or custom components rather than just the total order. Read our custom T-shirt MOQ guide before comparing the proposed allocation with supplier requirements.
Request quotations against the same material, construction, decoration and packing instructions. Identify sample development and other agreed charges where applicable, plus currency, validity and the named delivery basis. A lower unit price is difficult to compare when the proposed garment or cost scope differs.
Actual MOQ, production feasibility, pricing and timing must be confirmed by M&A Sourcing for the specific enquiry. Discuss approvals and material availability in the schedule, distinguishing factory readiness, shipment departure and required arrival.
10. Transfer the approved design into bulk quality records
Use the approved material references, measurement methods, artwork and construction details in the production control plan. Review early output and define how discrepancies will be recorded, corrected and checked. Our T-shirt quality control checklist covers bulk inspection and correction records in more detail.
Packing instructions should connect the style, colour and size allocation with unit identification and carton information. Agree how the garment is presented so that folding or packaging does not create confusion about the style or size. Reconcile the physical assortment with the packing list.
For repeats, retain the final pack, approved sample references, material codes, artwork and production findings. Confirm availability and review proposed substitutions before placing the next order. The previous approved garment is the starting reference, while changes still require a recorded decision.
Oversized T-shirt development worksheet
Use these tables to connect design intentions with physical review. Add the style code, revision, sample reference, decision owner and date to the records. The questions support a discussion; they do not establish universal product dimensions or pass criteria.
| Design area | Instruction to prepare | Sample question |
|---|---|---|
| Silhouette | Front, back and proportion references | Is the intended shape boxy, longline or fluid? |
| Body | Width, length and measuring method | Does the relationship match the approved look? |
| Shoulder and sleeve | Extension, length, opening and diagrams | Are sleeve position and movement balanced? |
| Neckline | Shape, rib and attachment details | Does the completed neck suit the design? |
| Material | Composition, structure, weight and finish | Does the actual fabric create the intended drape? |
| Artwork | Dimensions and placement by size where relevant | Is the physical application balanced? |
| Care | Agreed assessment and acceptance record | Does the silhouette remain acceptable after care? |
Approval and handover record
| Stage | Evidence | Decision record |
|---|---|---|
| Design review | Drawings and measurement chart | Open questions and revision owner |
| Material review | Coded swatches and proposed specification | Approved option or further development |
| Fit review | Identified garment and measurements | Accept, revise or review again |
| Decoration review | Physical application and artwork version | Approved dimensions and placement |
| Pre-production handover | Complete reference set and exceptions | Authorised scope of release |
| Repeat preparation | Final archive and change register | Availability and approved substitutions |
A fictional boxy-fit development example
A fictional brand wants a short, wide tee with a dropped shoulder and a substantial chest graphic. The first enquiry includes a visual reference but no measurement chart. Instead of quoting a larger regular-fit garment as an equivalent product, the development discussion identifies body width, body length, shoulder extension and sleeve proportions as separate decisions.
The brand prepares a base-size chart and explains which parts of the visual reference matter. The first sample has the desired body width, but the sleeve sits lower than intended. The buyer records the actual shoulder and sleeve measurements, reviews the garment in movement and asks for a defined correction. The revised instructions identify which measurement changes and which approved proportions should remain.
The proposed fabric is then reviewed in the corrected garment. The team compares drape, opacity, neckline appearance and the physical decoration. A print approved on a flat mock-up is checked again on the wider body. If the material used for the sample is temporary, the approval sheet states what must still be confirmed using the proposed production fabric.
After the agreed care assessment, the buyer reviews the resulting silhouette and measurement record. The final handover identifies the approved pack, material, artwork, sample and quantity allocation. This is an illustrative workflow, not an actual customer case study or a promise of a particular development outcome.
Illustrative development progress
The bars show a sequence of preparation stages only. They do not measure elapsed time or report live order completion.
1. Define the silhouette
2. Prepare measurement and material references
3. Review fit and construction
4. Approve branding and care evidence
5. Confirm the complete production handover
Related garment and company image references
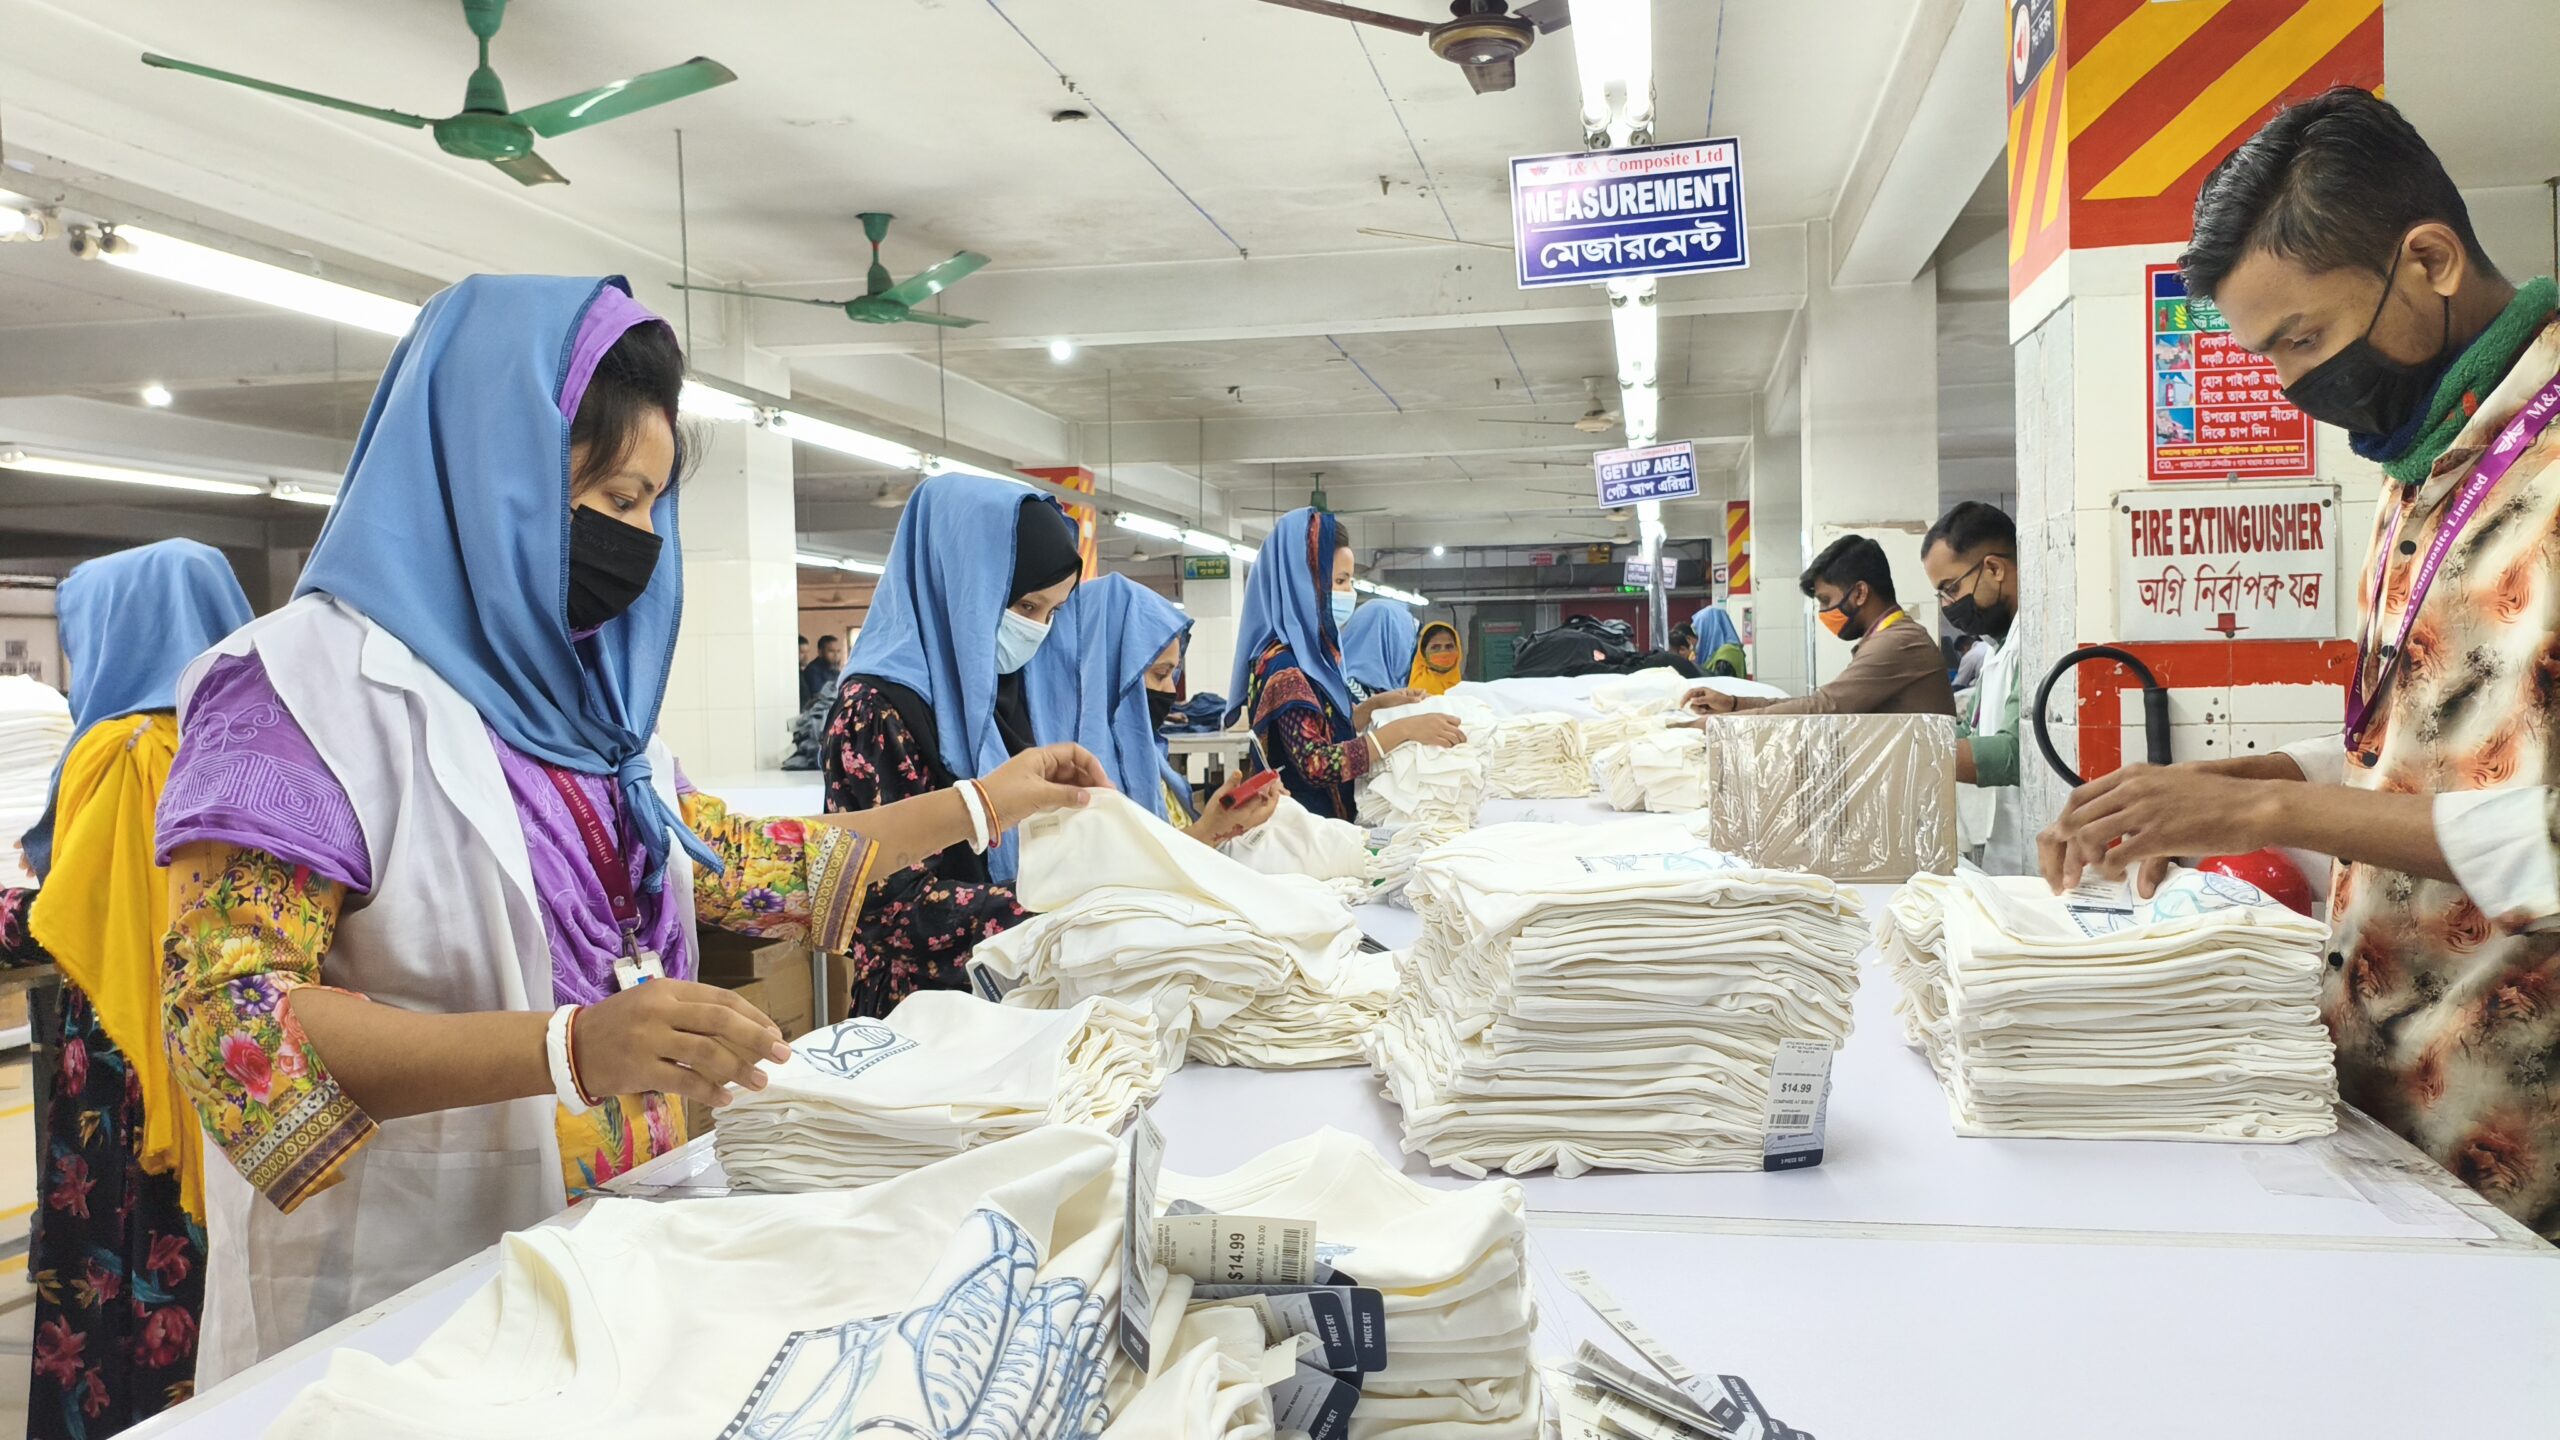
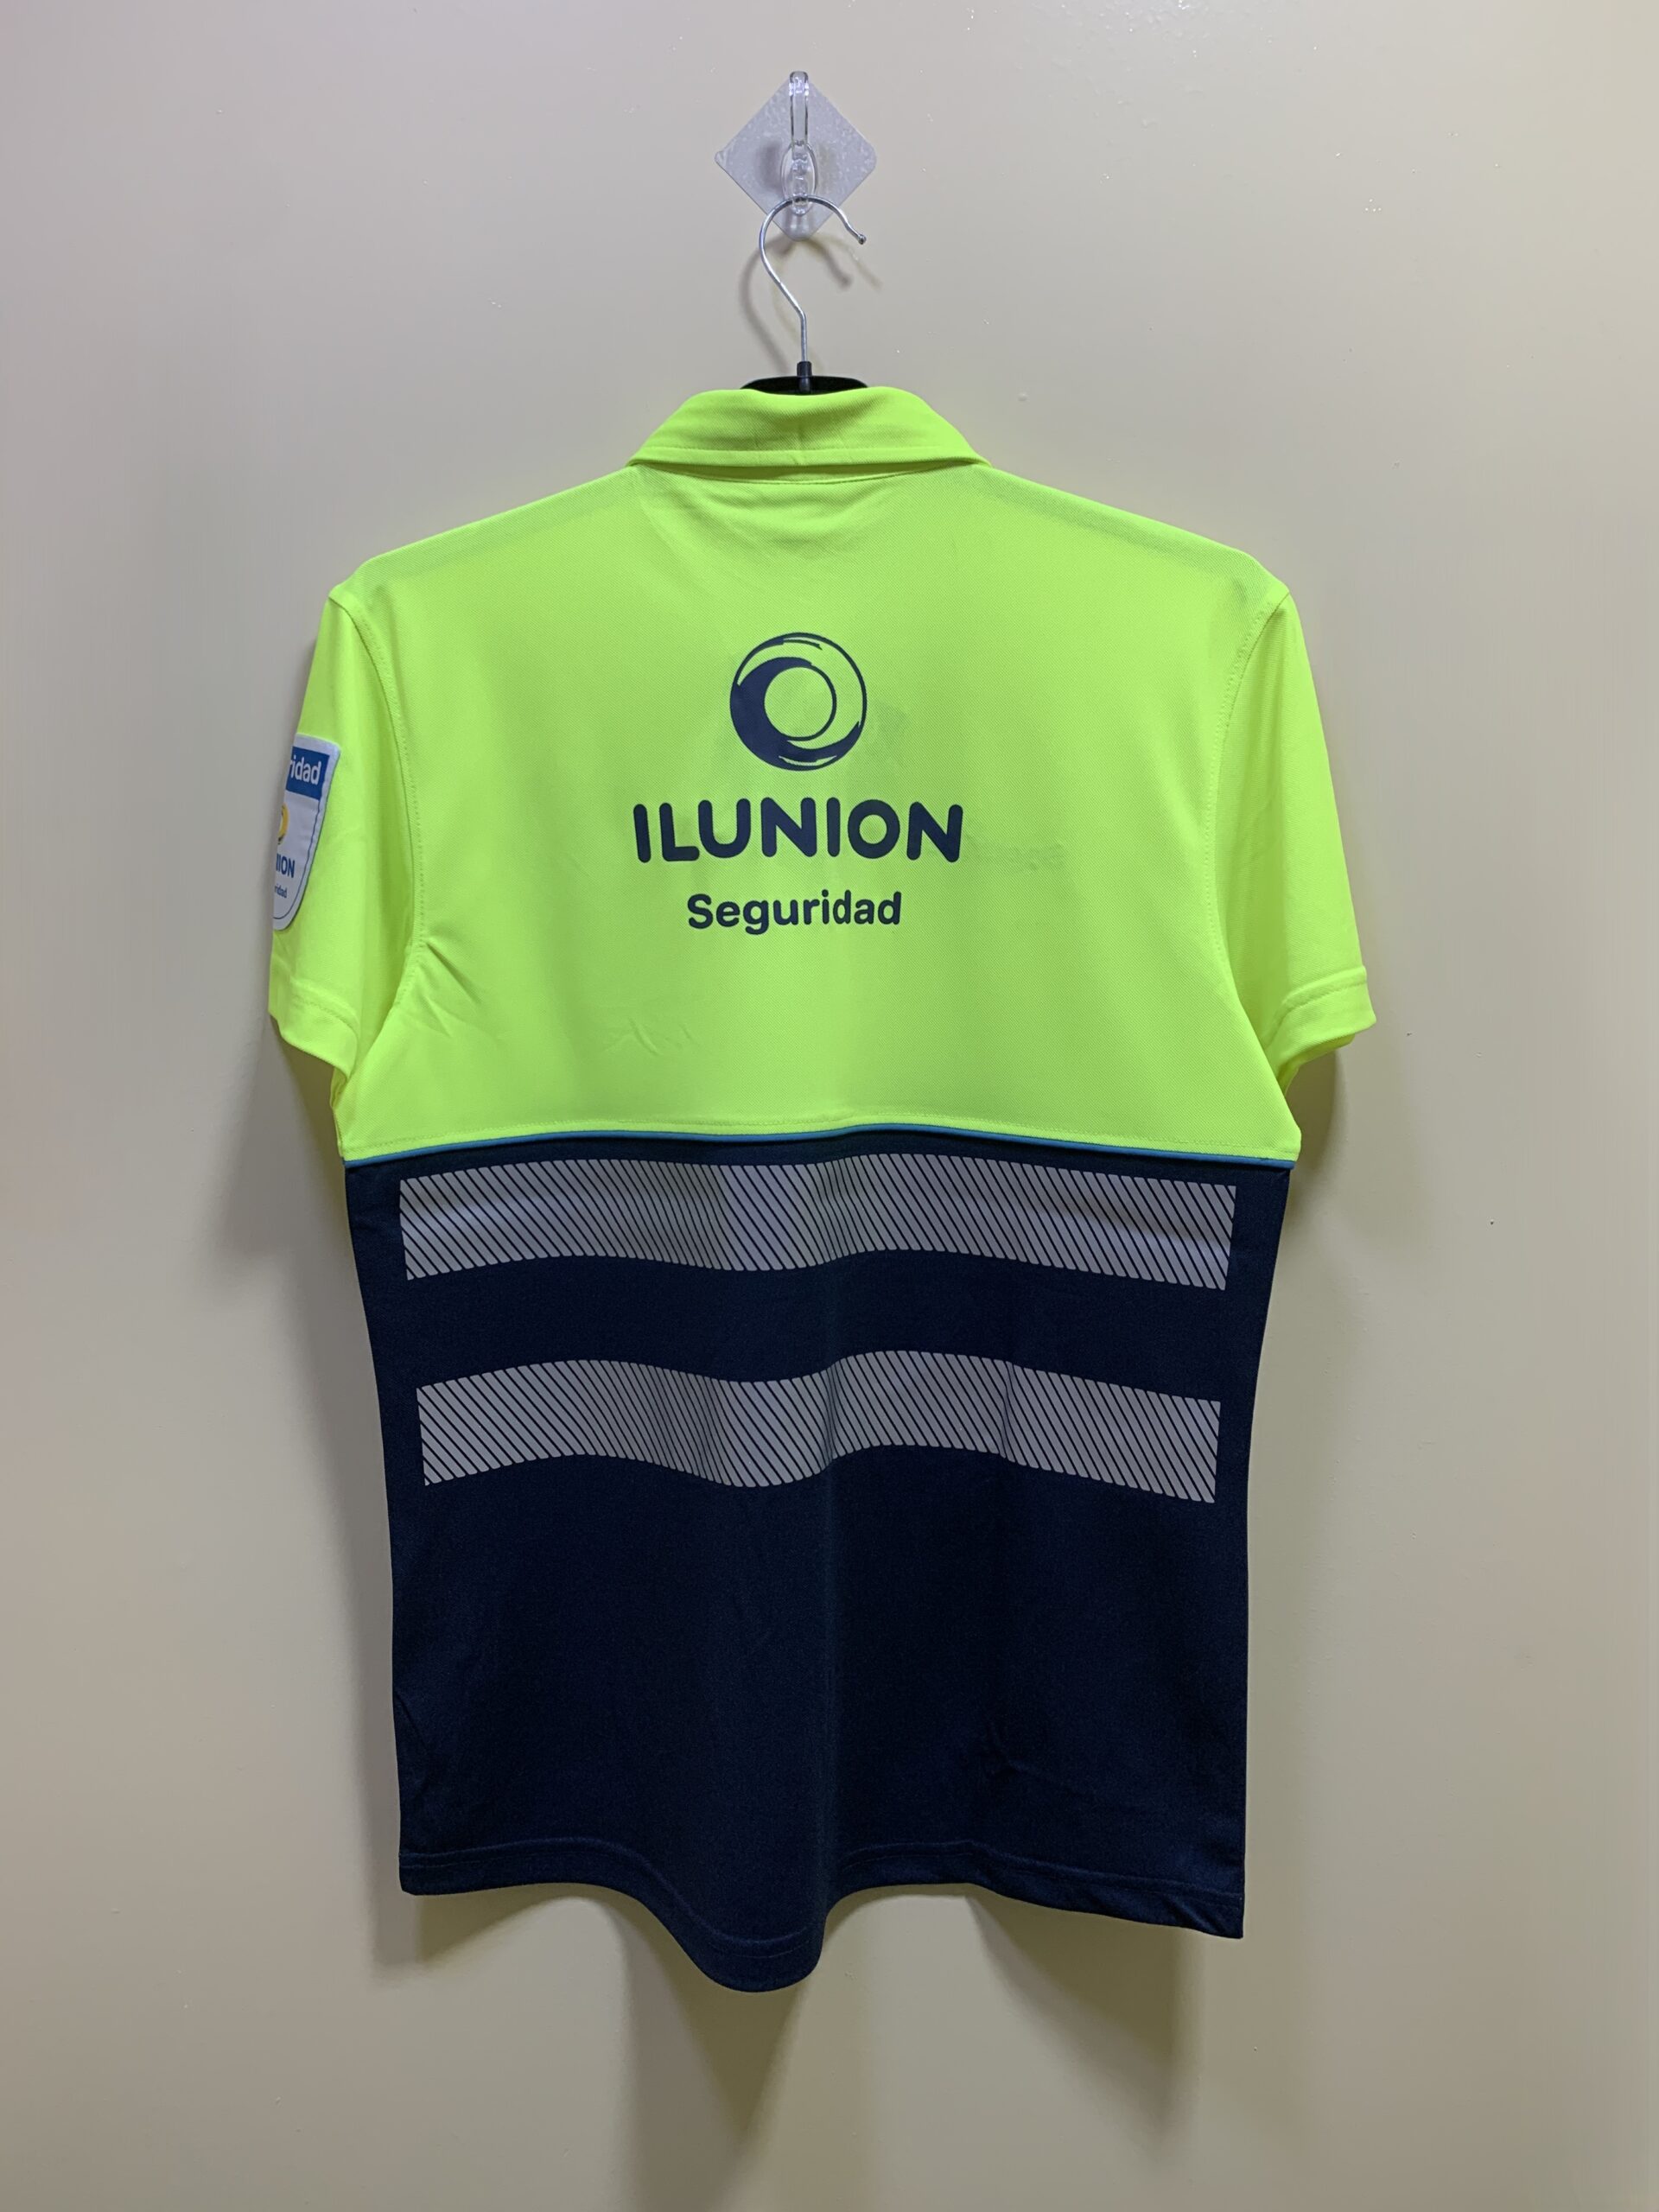
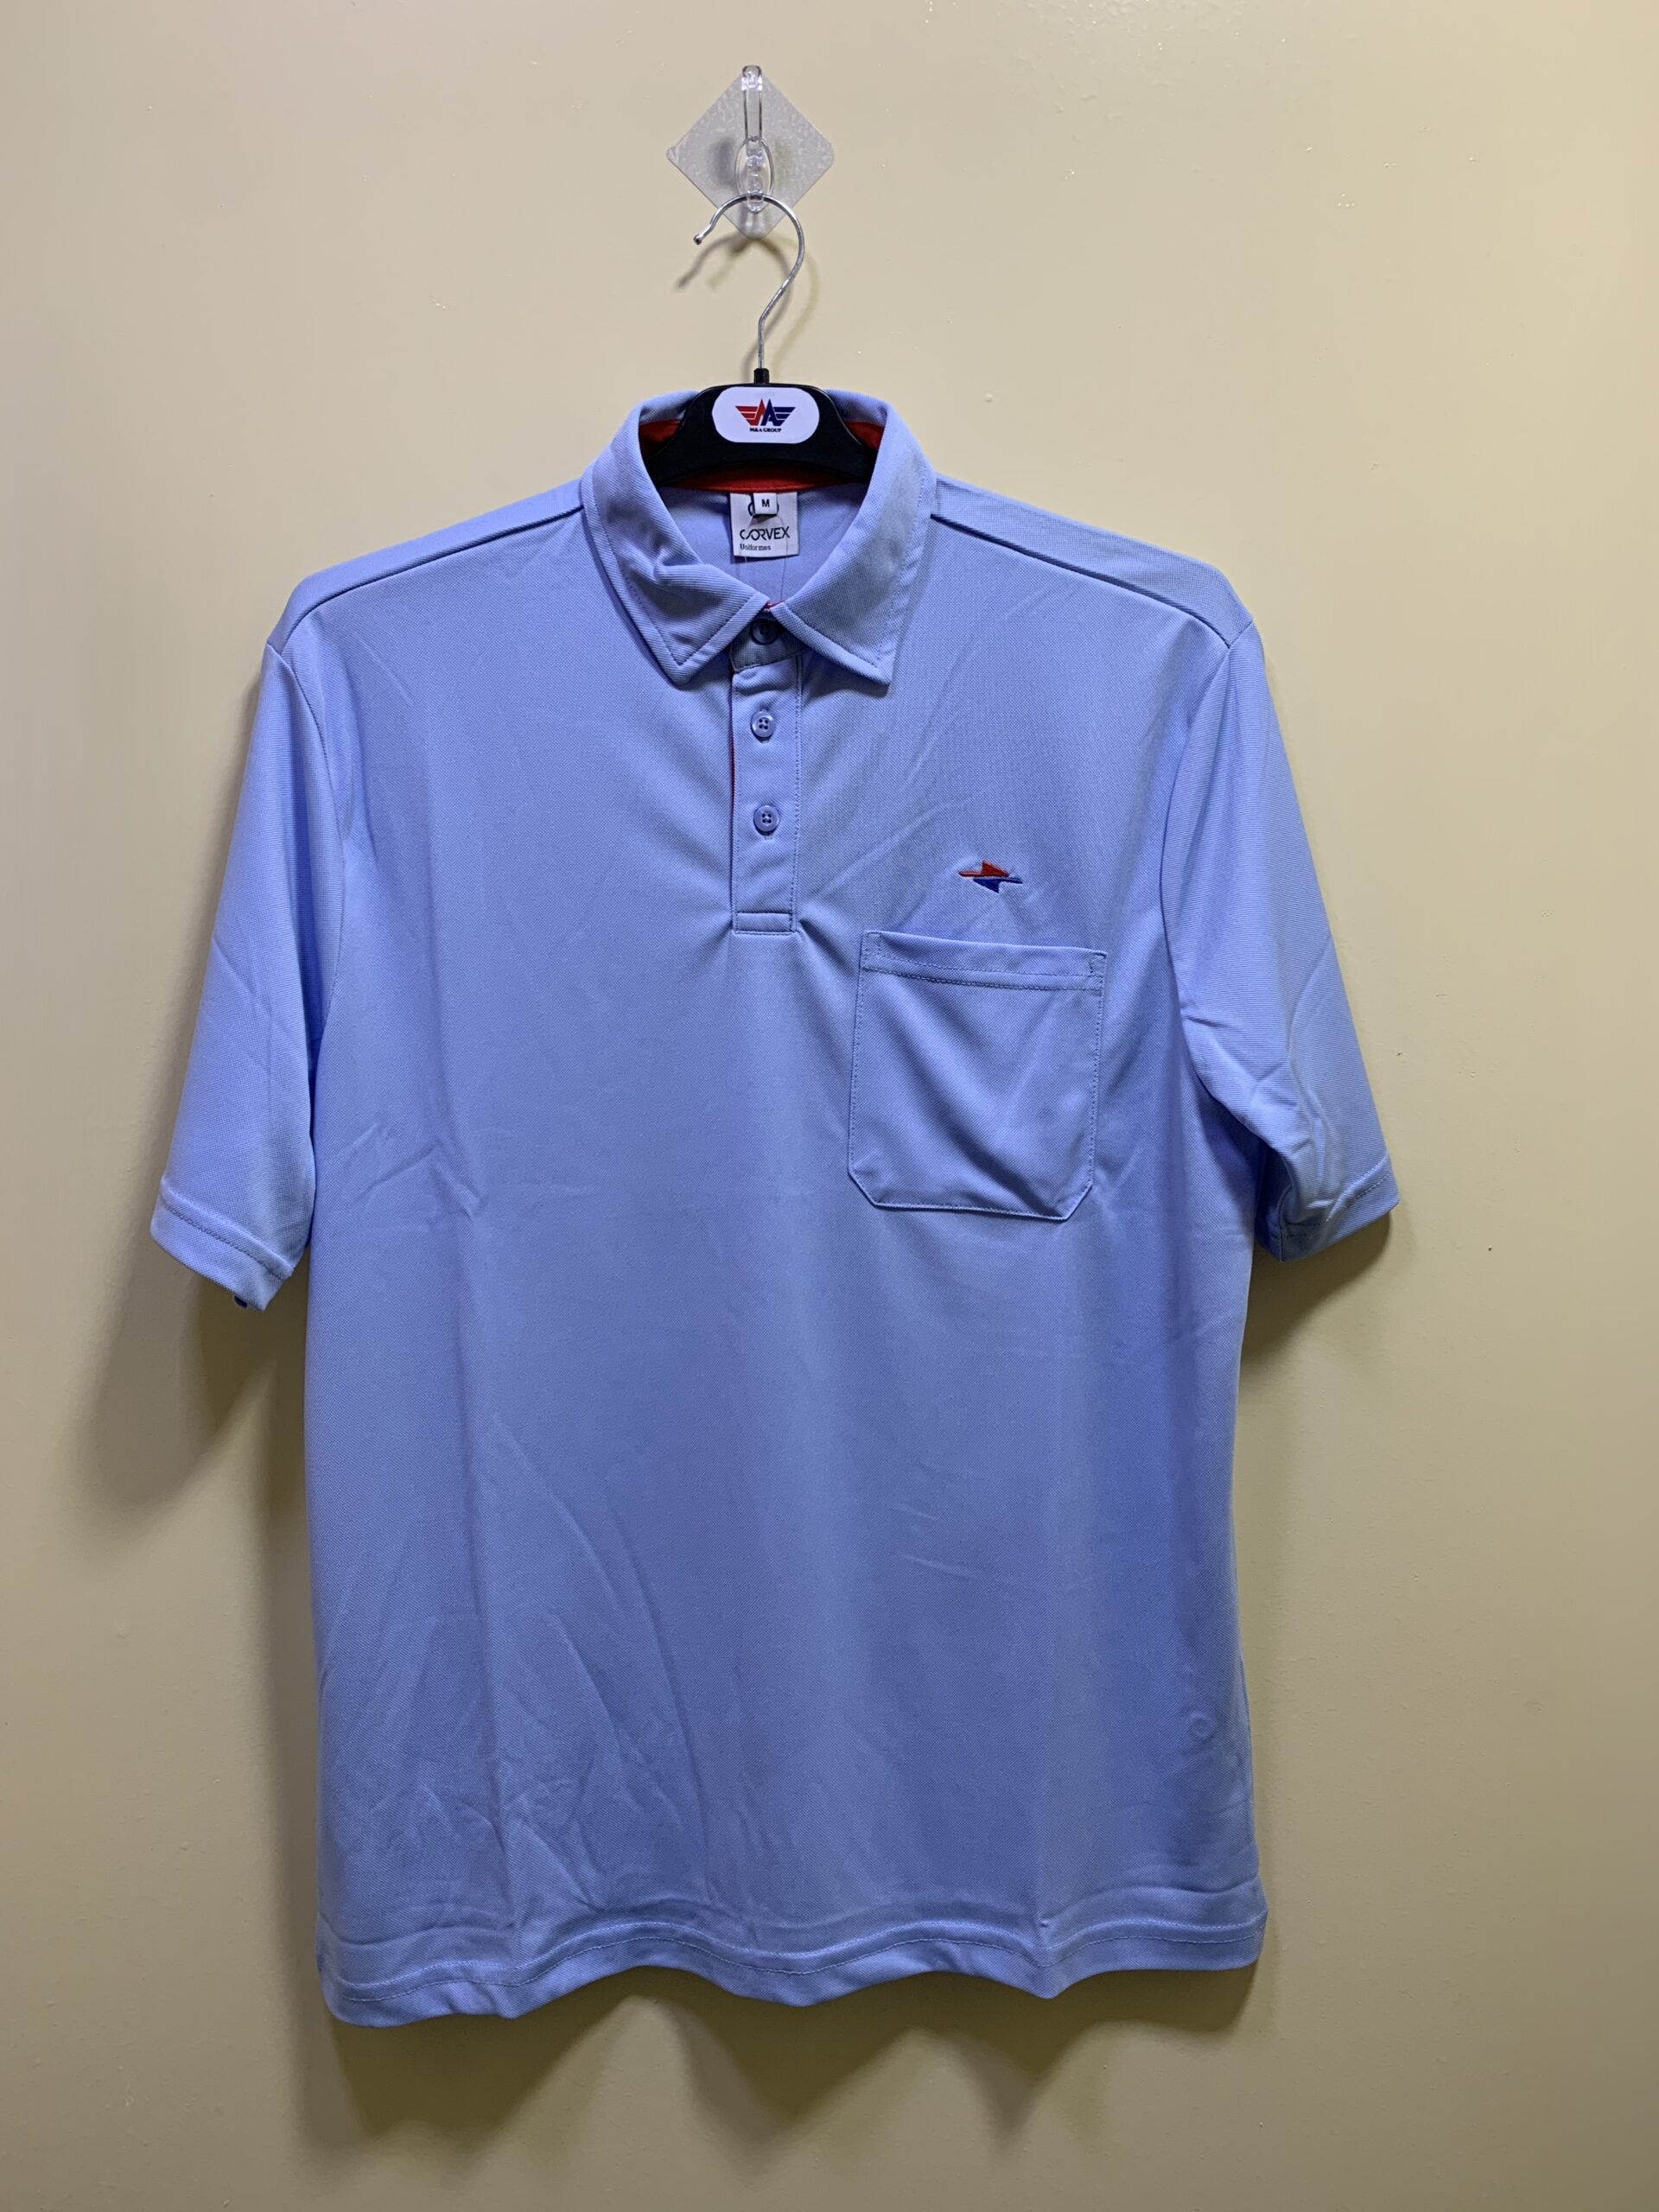
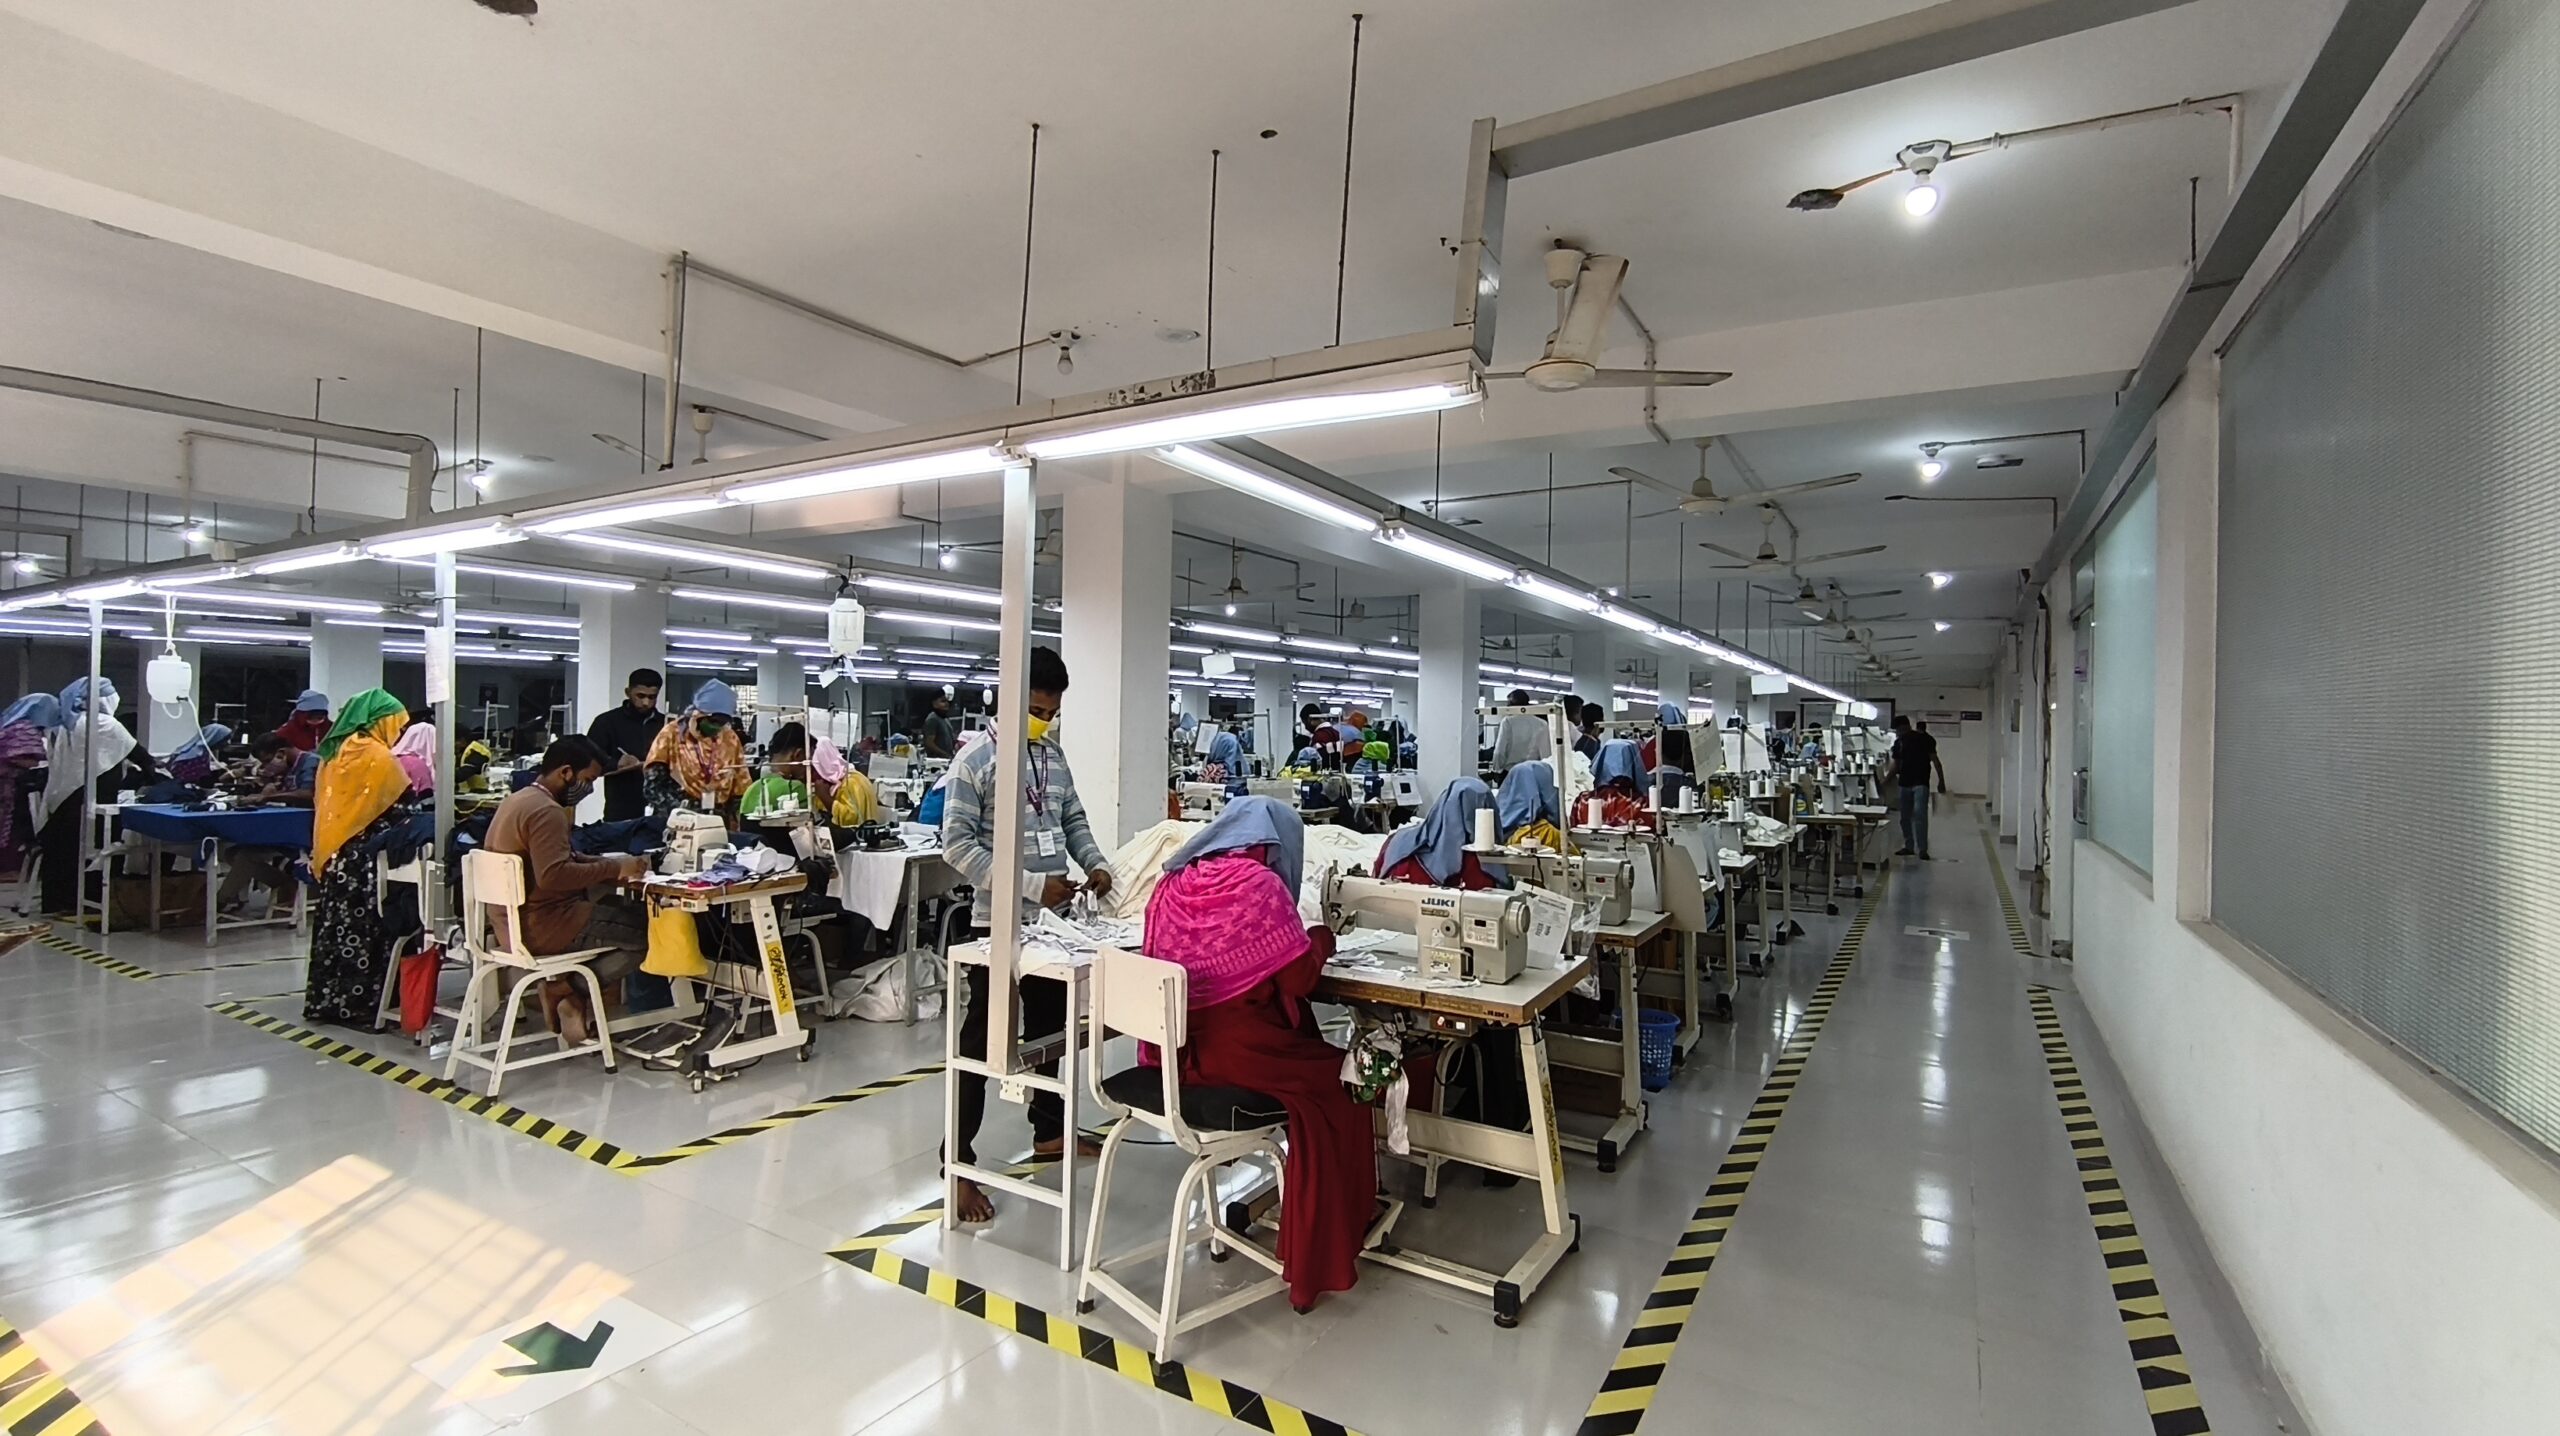
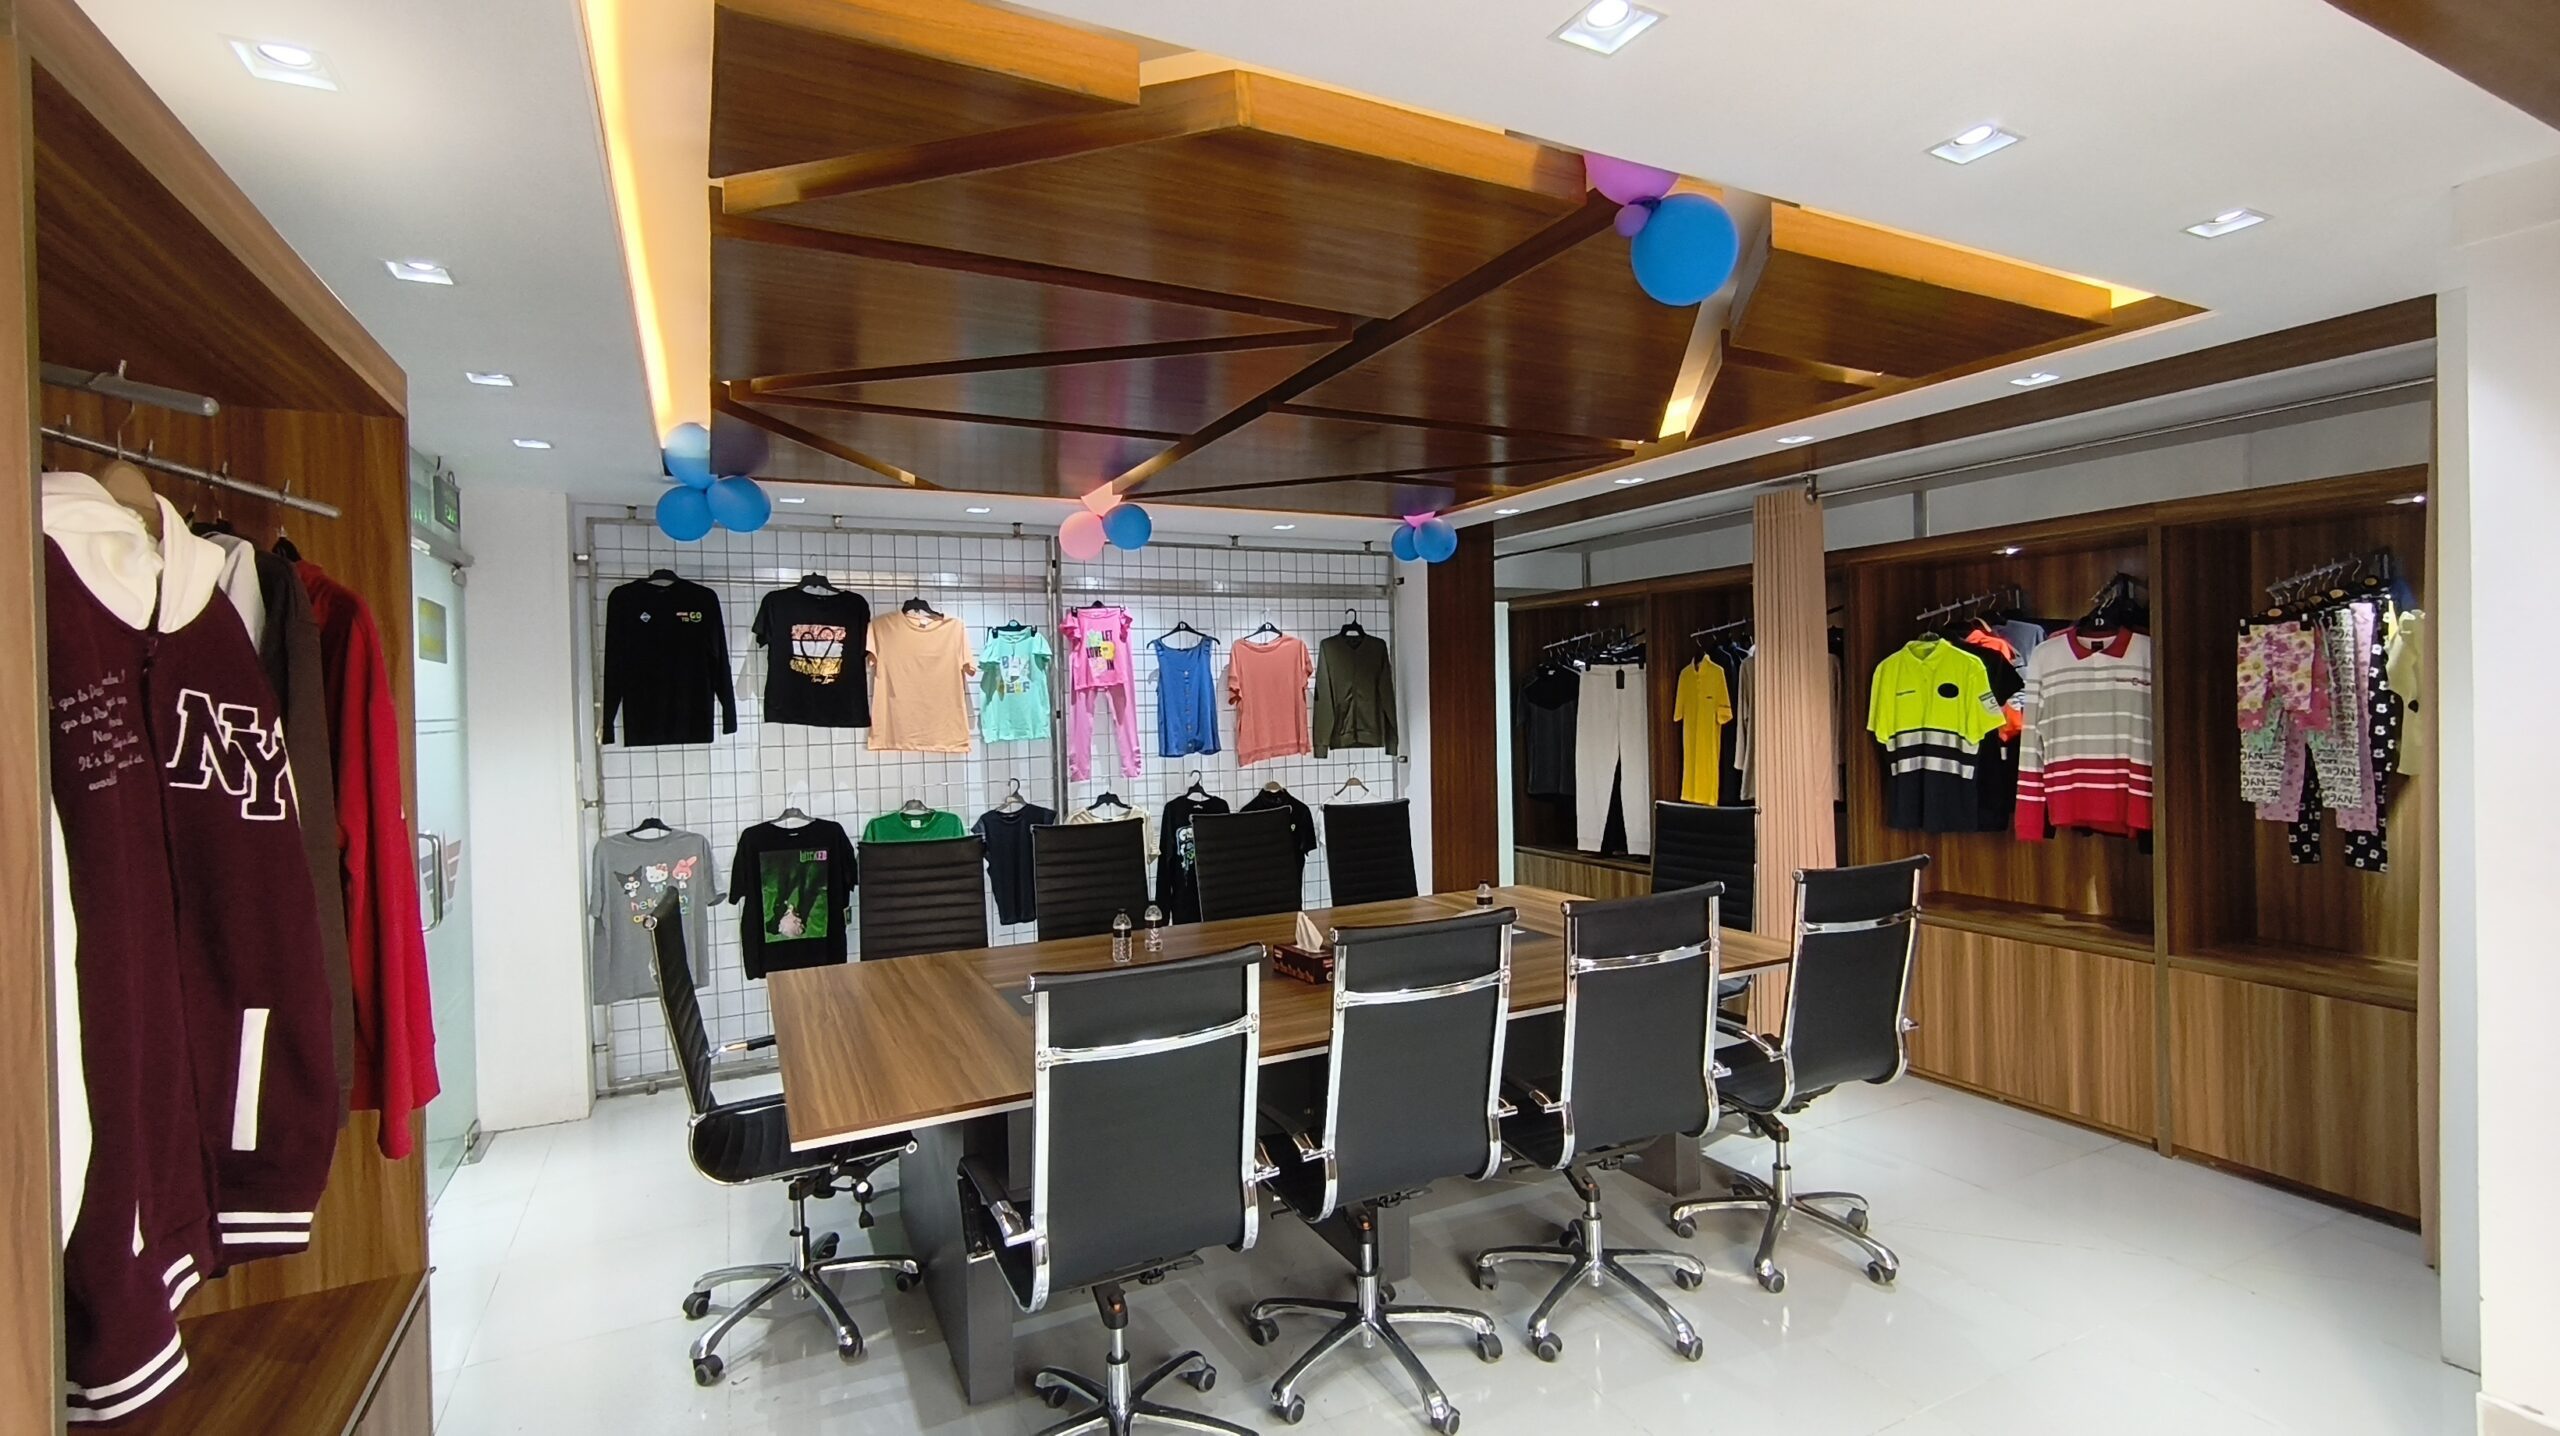
These images are from the company media gallery. The garment images are related T-shirt and polo references, not approved oversized samples or evidence of a specific customer relationship. Use your own design brief and sample review to establish the proposed oversized garment.
Technical reference for the care discussion
AATCC TM150: dimensional changes of garments after home laundering is a reference for discussing garment dimensional-change assessment with the relevant laboratory. Review applicability, the complete procedure and the agreed acceptance criteria for the actual product.
Oversized T-Shirt Manufacturing: FAQs
Is an oversized T-shirt the same as a larger regular-fit size?
Not necessarily. An oversized design may change body width, length, shoulder position and sleeve proportions deliberately. Increasing a regular size can change other features in ways the designer did not intend.
Which measurements should I include in an oversized T-shirt brief?
Include the relevant body, shoulder, sleeve and neckline measurements, with diagrams, measuring methods and tolerances. Keep garment measurements separate from a body size chart.
What GSM is best for oversized T-shirts?
There is no single weight suitable for every design. Compare composition, construction, finish, opacity and drape using representative swatches and garment samples. GSM alone does not establish quality or the intended silhouette.
How should I approve a dropped shoulder?
Review shoulder extension, sleeve length, sleeve opening and armhole shape together on the identified sample. Assess appearance and movement, then record measurable corrections and any further size-set checks.
Should artwork be resized for every garment size?
Decide this in the design brief. Specify finished dimensions and placement, identify any size-based variation and approve the physical application on the intended garment material.
What is the MOQ for oversized T-shirt manufacturing?
Request confirmation for the specific project. The applicable minimum can depend on style, colour, fabric, decoration or custom components. This article does not state a company-wide minimum.
Does approving the fit release bulk production?
A fit-only decision has limited scope. Complete material, construction, branding and other relevant approvals, then identify the final reference set and authorised bulk-release decision.
How do I request an oversized T-shirt quotation?
Send design references, a measurement chart or tech pack, proposed materials, artwork, quantities by colour and size, target market and required delivery window. Ask M&A Sourcing to confirm feasibility and project-specific terms.
Send your enquiry with drawings, a measurement chart, material preferences, artwork, quantities by colour and size, target market and required delivery window. Identify which decisions need development support and request written confirmation of actual feasibility and commercial terms.
Return to the T-shirt manufacturer in Bangladesh guide for the wider supplier-selection and buying process.